Current Sales
The Current Sales Screen is used for Sales Entry and allows you to access your Items and efficiently prepare a Sale for Checkout.
To get to the Sales Entry Screen, tap the Sale Button on the Home Screen. You will be taken to the Current Sales Screen where you can begin selecting Items for a Sale.
Navigation
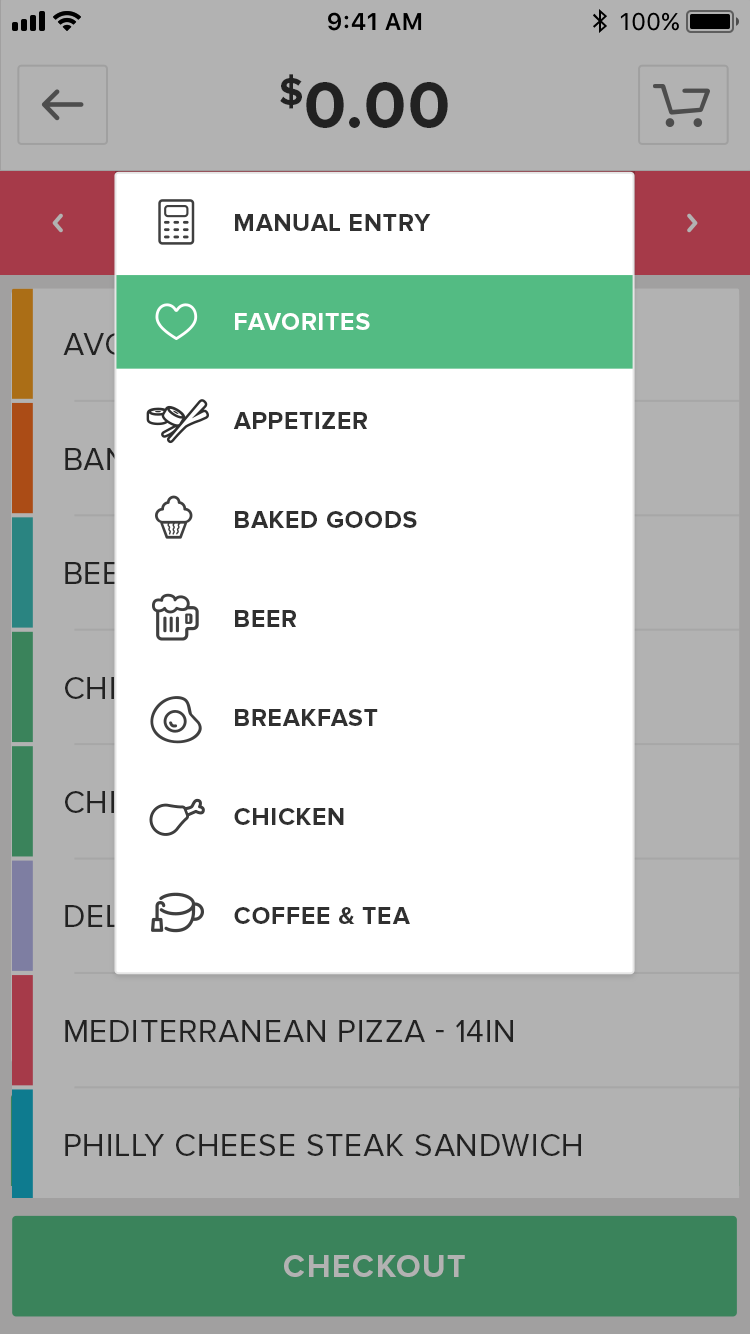
When you press the Sale Button on the Home Screen and land on the Current Sales Screen, your first category will be preselected in the in the top middle section of the ribbon, and just underneath are the Items organized within that category. To navigate between categories, you can either select the forward and backward arrows on the ribbon tab or tap the category name in the center of the ribbon to populate a dropdown list off all categories listed. The last option is to swipe the screen to the left or the right to more between categories.
Adding Items
To Add an Item to a Sale, tap any Item Button in the center of the screen. You can choose from your Inventory of Items based on the Screen Layouts you created in the Portal. Each Screen Layout is located in the center of the screen. Once you locate the Screen Layout, tap it to fill the center of the screen with the Items within that Screen Layout. Press any Item Button to add that Item to the Sale.
Screen Layouts
When setting up your Item Library and Screen Layouts, it can be useful to choose Icons that will help you identify the Screen Layout or Item you are searching for. For example, a bicycle icon may be used for bike parts at a sporting goods retailer or a coffee cup icon could represent coffee and tea related drinks at a cafe. Icons are sorted into several classifications: Apparel & Accessories; Electronics, Appliances & Kitchen; Furniture, Tools & Auto; Healthy, Pet, & Miscellaneous; Restaurant; and Sports, Toys & Baby. It may also be useful to categorize your Item Library and Screen Layouts by color. For example, a Restaurant may apply a red color to its hot plated items, and blue coloring to pre-made refrigerated items.
You can set the Color and Icon for your Categories, Subcategories, Groups and Items in your Item Library, and then separately for your Screen Layouts on the Screen Layouts Settings Page in the Portal. Items will keep the color of their parent entity (Category, Subcategory or Group), regardless of which Screen Layout(s) they are sorted into. This can help make it easy to locate and differentiate between Items within your Screen Layouts. For example, if you have a Breakfast Screen Layout, you can use a red color for heated breakfast items and a blue color for un-heated prepared items.
It’s important to remember that Screen Layouts that you have created set hours of availability will only appear on the Current Sale Screen if it is within their set hours of availability. You can still use the Search functionality to find the Items in these Screen Layouts. To learn more about Screen Layouts, click here.
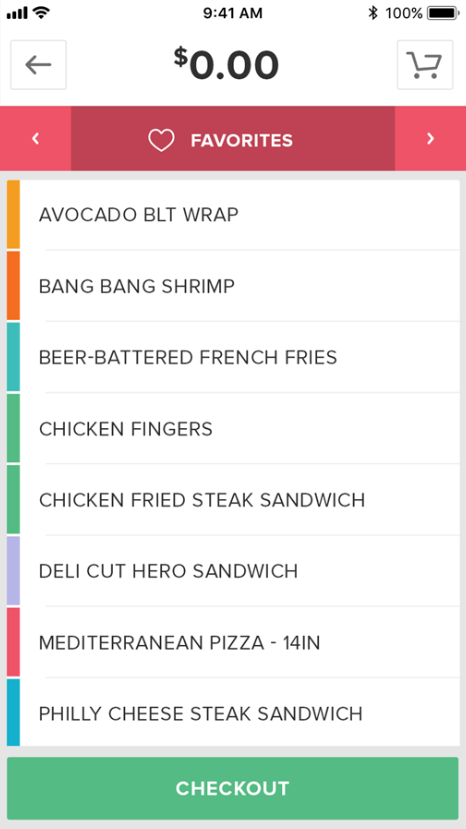
Favorites
To quickly access commonly ordered Items, it is a good idea to create a Favorites Screen Layout in the Portal and organize your most popular Items within that Screen Layout. Then, you can edit the layout of your Screen Layouts to have your Favorites Screen Layout at the top of the left-hand column. This is because when you navigate to the Current Screen, your first Screen Layout will be preselected in the left-hand column, filling the center of the screen with the Items organized within that Screen Layout. Thus, putting your Favorites Screen Layout at the top of the column will provide quick and easy access to your popular Items. For more information on creating and sorting Screen Layouts, click here.
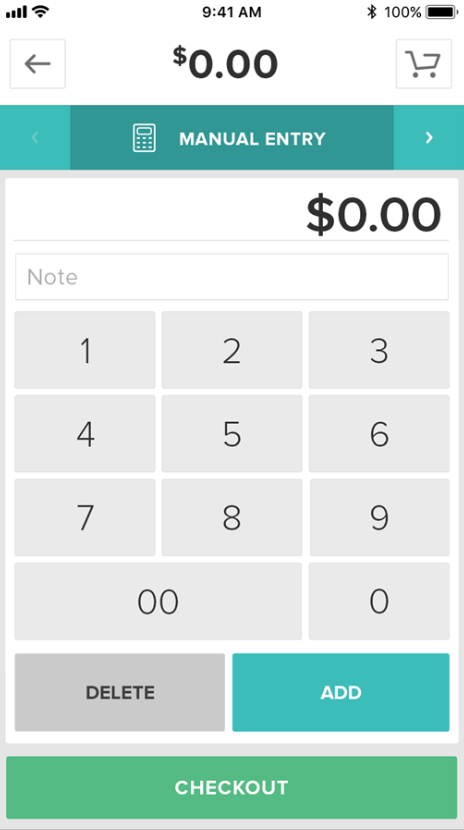
Manual Item
The Manual Item Screen allows you to enter an Item Price and Item Description without adding a new Inventory Item. This feature may be used by merchants with a relatively small list of inventory Items, or for a brand new item not yet added to your Inventory, but still available for sale in your store.
When you navigate the Manual Entry Screen, the center of the screen loads a number pad and a text box. To add a Manual Item, enter a price and press the Add Button. You may also enter an optional Item Name by tapping inside the text box and entering the description with the keypad that appears. Adding a Manual Item is permission based, so only specified users will have access to this feature.
It is important to remember that Manual Items added to a sale are not saved in your Inventory for future use; they are one-time, quick entries. In order for employees to select items for a Sale, it is recommended that you add an Inventory Item within the Portal for future use, rather than rely on the Manual feature.
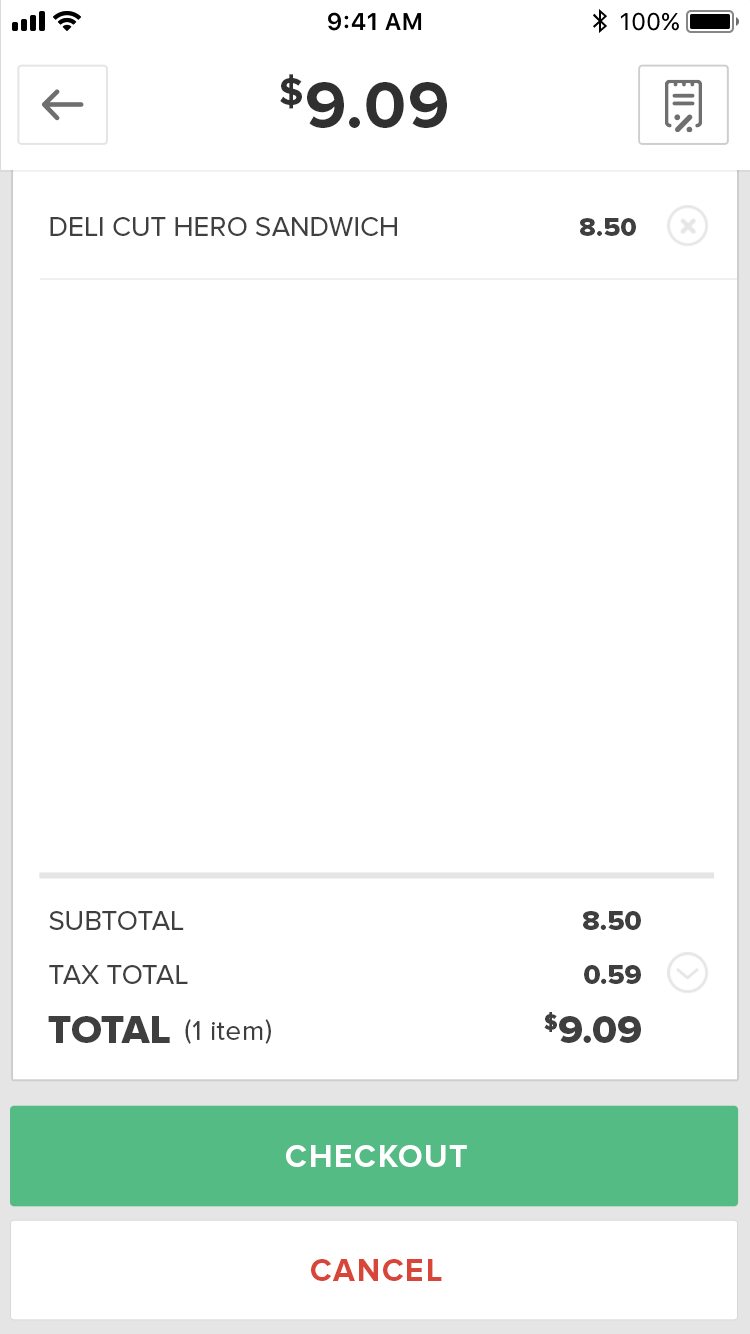
Cart Viewer
As you select Items for a Sale they are displayed in the Cart Viewer, located on the right hand side of the screen, as a Sale prepared for Checkout.
The Cart Viewer allows you to view and remove Items and Discounts from a Sale and view relevant tax, subtotal and total information for the Sale.

Discount Button
The Discount Button can be accessed any time prior to selecting Checkout by selecting the Discount button located on the top right of the Cart Viewer screen. The Discount Button allows you to easily view and utilize your Discounts. Manual Discounts are added manually from the Discount screen by entering a specified amount and discount description. The Manually discounts are not saved in the Vital Mobile Merchant Portal.

Additional Actions
Cancel a Sale
After selecting at least one Item for a Sale, a Sale may be canceled. By pressing the Cancel Button located at the bottom of the Cart Viewer, the Cancel Sale Pop-Up will appear asking the employee to confirm that they wish to cancel the Sale. The employee can then either select Yes, which will remove all Items from the Cart Viewer and effectively cancel and delete the Sale, or they can select Cancel, which will return the employee to the original Sale.
Removing an Item from a Sale
In order to remove an Item from a Sale navigate to the Cart Viewer, and then tap the X Button located to the right of the Item you would like to remove.
Removing a Discount from a Sale
In order to remove a Discount from a Sale navigate to the Cart Viewer, and then tap the X Button located to the right of the Discount you want to remove.
Checkout
When you have added all the necessary Items and/or Discounts to a Sale, tap the Checkout Button located at the bottom of the screen. Remember, after selecting Checkout, you can always return to the Sales Screen where you created the Sale by clicking the Back Button in the top left corner of the Payment Method Screen. To learn more about the Checkout Process, click here.