Completing a Transaction
Current Order Screen
There are two ways to complete a Transaction from the point-of-sale: selecting from your Screen Layouts and adding a Manual Item.
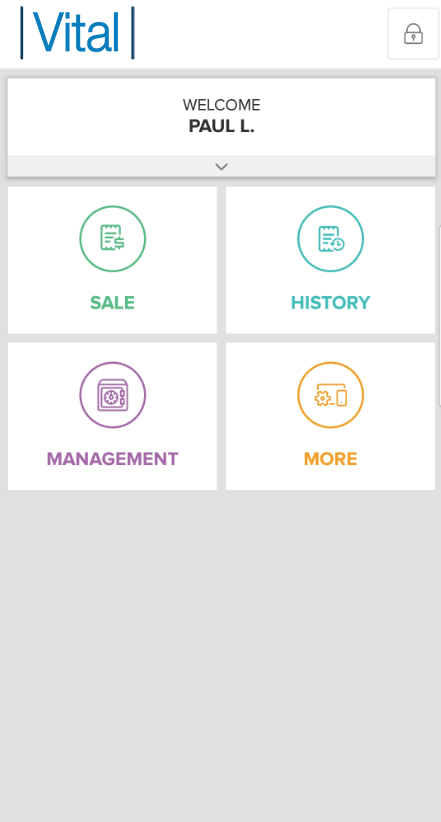
On the Home Screen of the App, select the Sale Button.
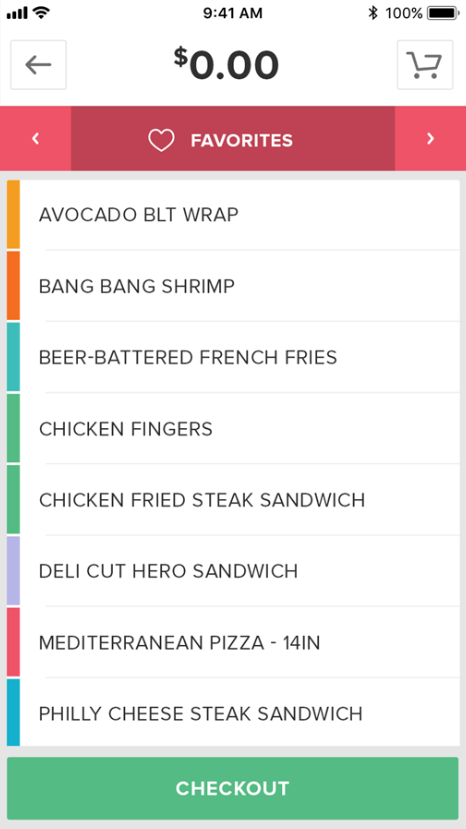
Adding Items by Screen Layouts
You will land on the Current Sales Screen where your first Screen Layout will be preselected in the left-hand column, filling the center of the screen with the Items organized within that Screen Layout. Select the Item(s) you want to include in the Sale by tapping on the Item(s). For tips and questions regarding Item organization and creation, click here.
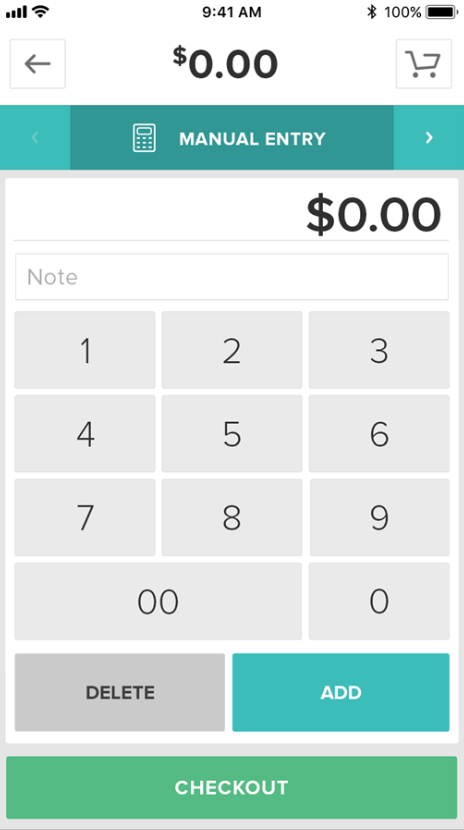
Adding Items Manually
You can also add Items not listed in your Inventory by navigating to the Manual Entry screen. To add a Manual Item, enter a price and press the Add Button. You may also enter an optional Item Name by tapping inside the text box and entering the description with the keypad that appears. Adding a Manual Item is permission based, so only specified users will have access to this feature.
Removing an Item
To remove an Item from a Sale, , swipe the Item in the Cart Viewer to the left or tap the X button to the right of the Item in the Cart Viewer. For more information about Order Info, click here.
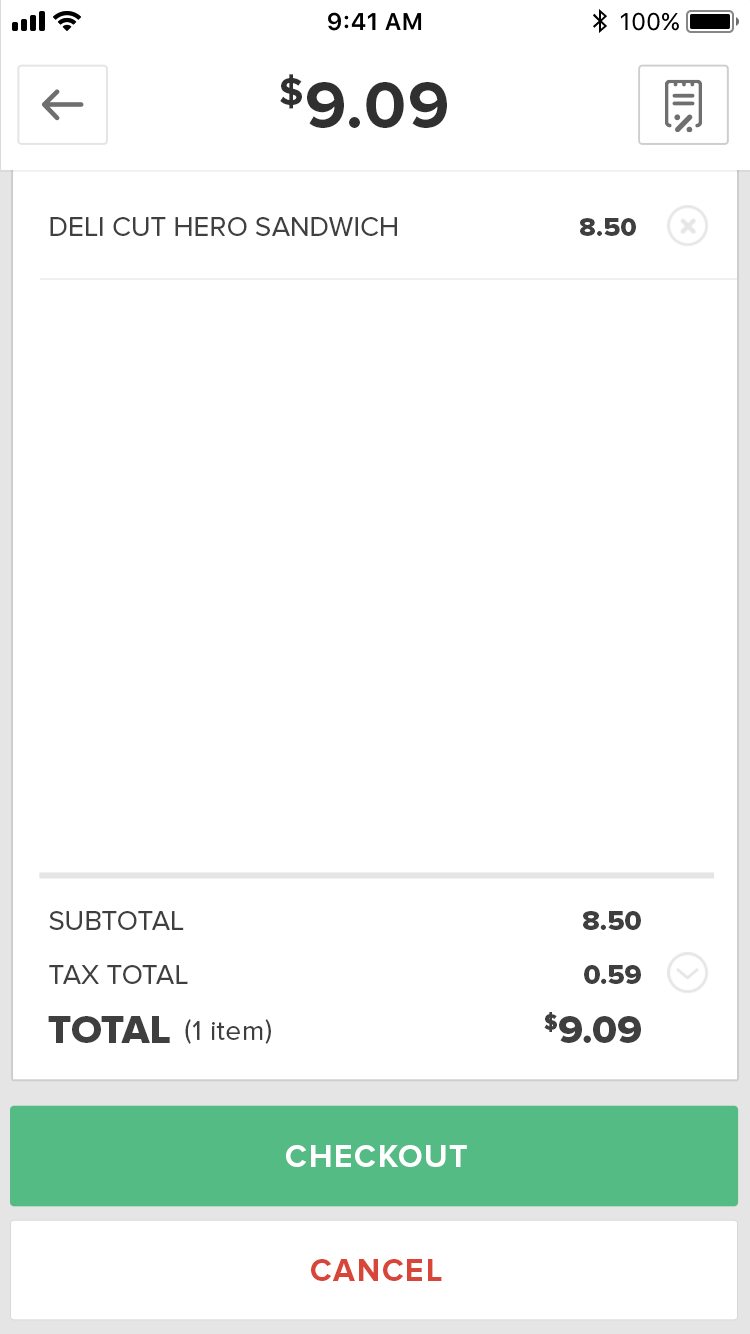
Checkout
Payment Methods
Press the Checkout Button at the bottom of the screen to navigate to the Payment Method Screen and begin the Checkout Process. After tapping the Checkout Button, you are directed to the Payment Methods Screen, where you can select the payment type for the Sale.
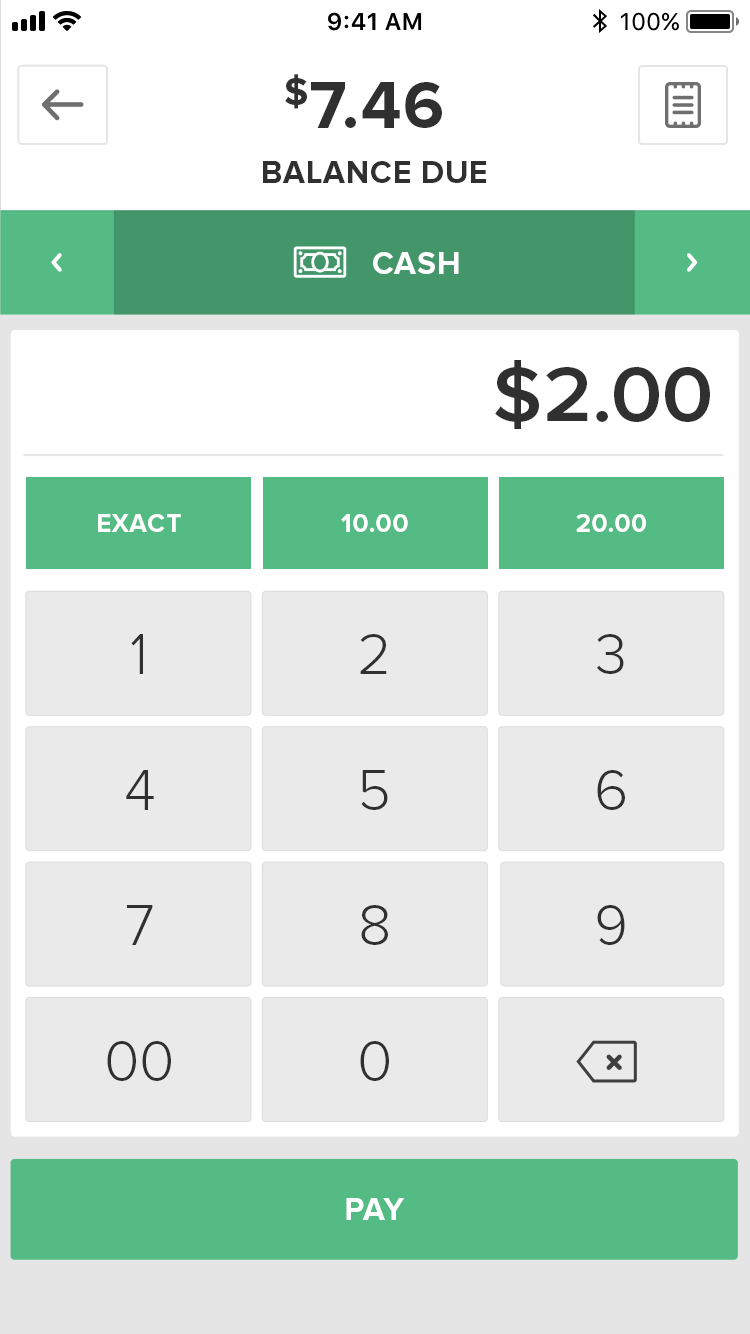
If the customer is paying with cash, after entering the amount of cash they gave you for the Sale using the number pad in the center of the screen, press Pay, and give the customer their change, if any. If the customer is paying with a credit card, insert or swipe the card using your preconfigured Swiper and/or Terminal. Learn more about completing transactions with cash or credit cards.
Receipt Screen
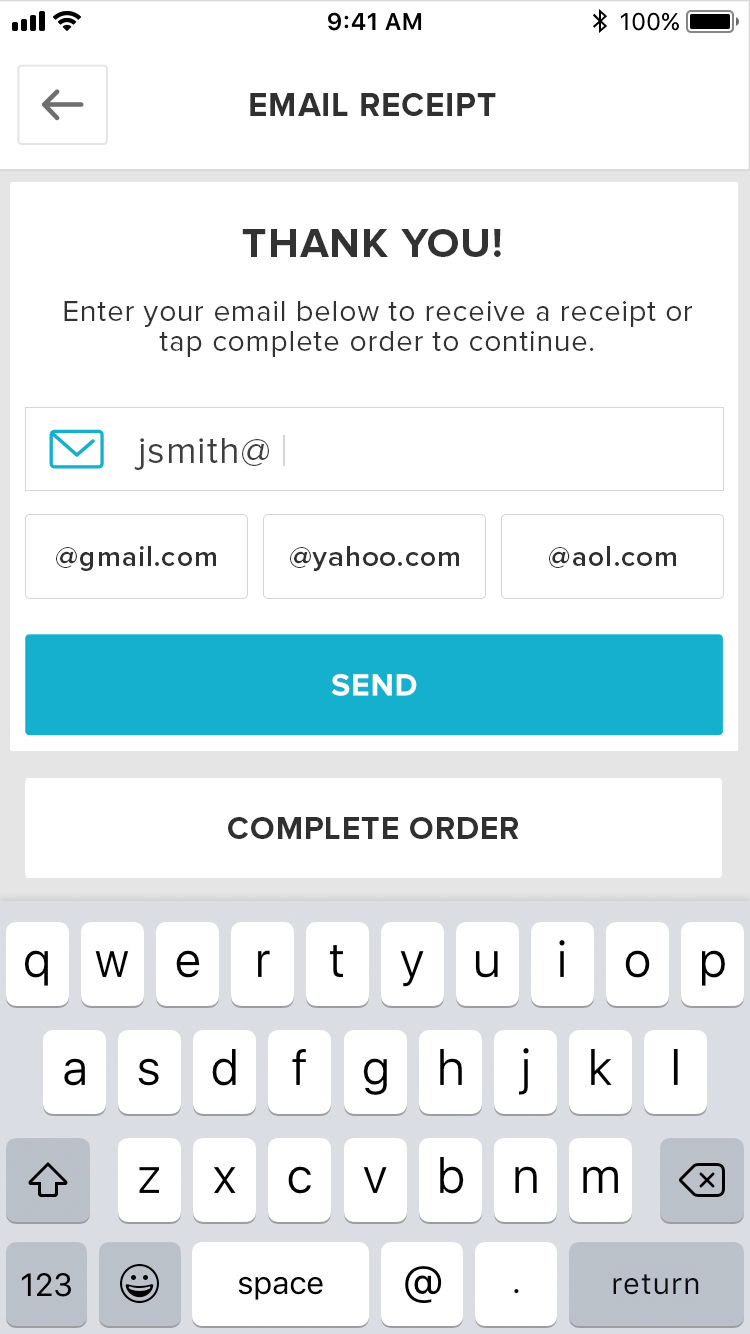
After completion of the Payment Method Screen, you will be directed to the Email Receipt Screen. If you want to email the receipt to the customer, complete the email address field and select the Send button. You can enter a different email address and send an additional copy if needed. When you are done with this screen, select the Complete Order button to return to the Sales screen.
Congratulations – you have now completed a Transaction from start to finish. Click the following links for any additional questions about the Checkout Process or other Checkout topics.
Step by Step Summary
- On the Current Items Screen of the App, add Items to the Sale
- Add Items from your Screen Layouts
- Add Manual Items
- Click the Checkout Button below the Cart Viewer
- On the Payment Methods Screen, select the payment type for the Sale
- If the customer is paying with cash, after entering the amount of cash they gave you for the Sale using the number pad in the center of the screen, press Pay, and give the customer their change, if any
- If the customer is paying with a credit card swipe the card using your preconfigured Terminal
- On the Receipt Screen, select Email a Receipt, or press the All Done Button to dismiss the screen.
- On the Email Receipt Screen, Email a Receipt or press the Complete Order to dismiss the screen.