Completing the Initial Setup
The Initial Setup
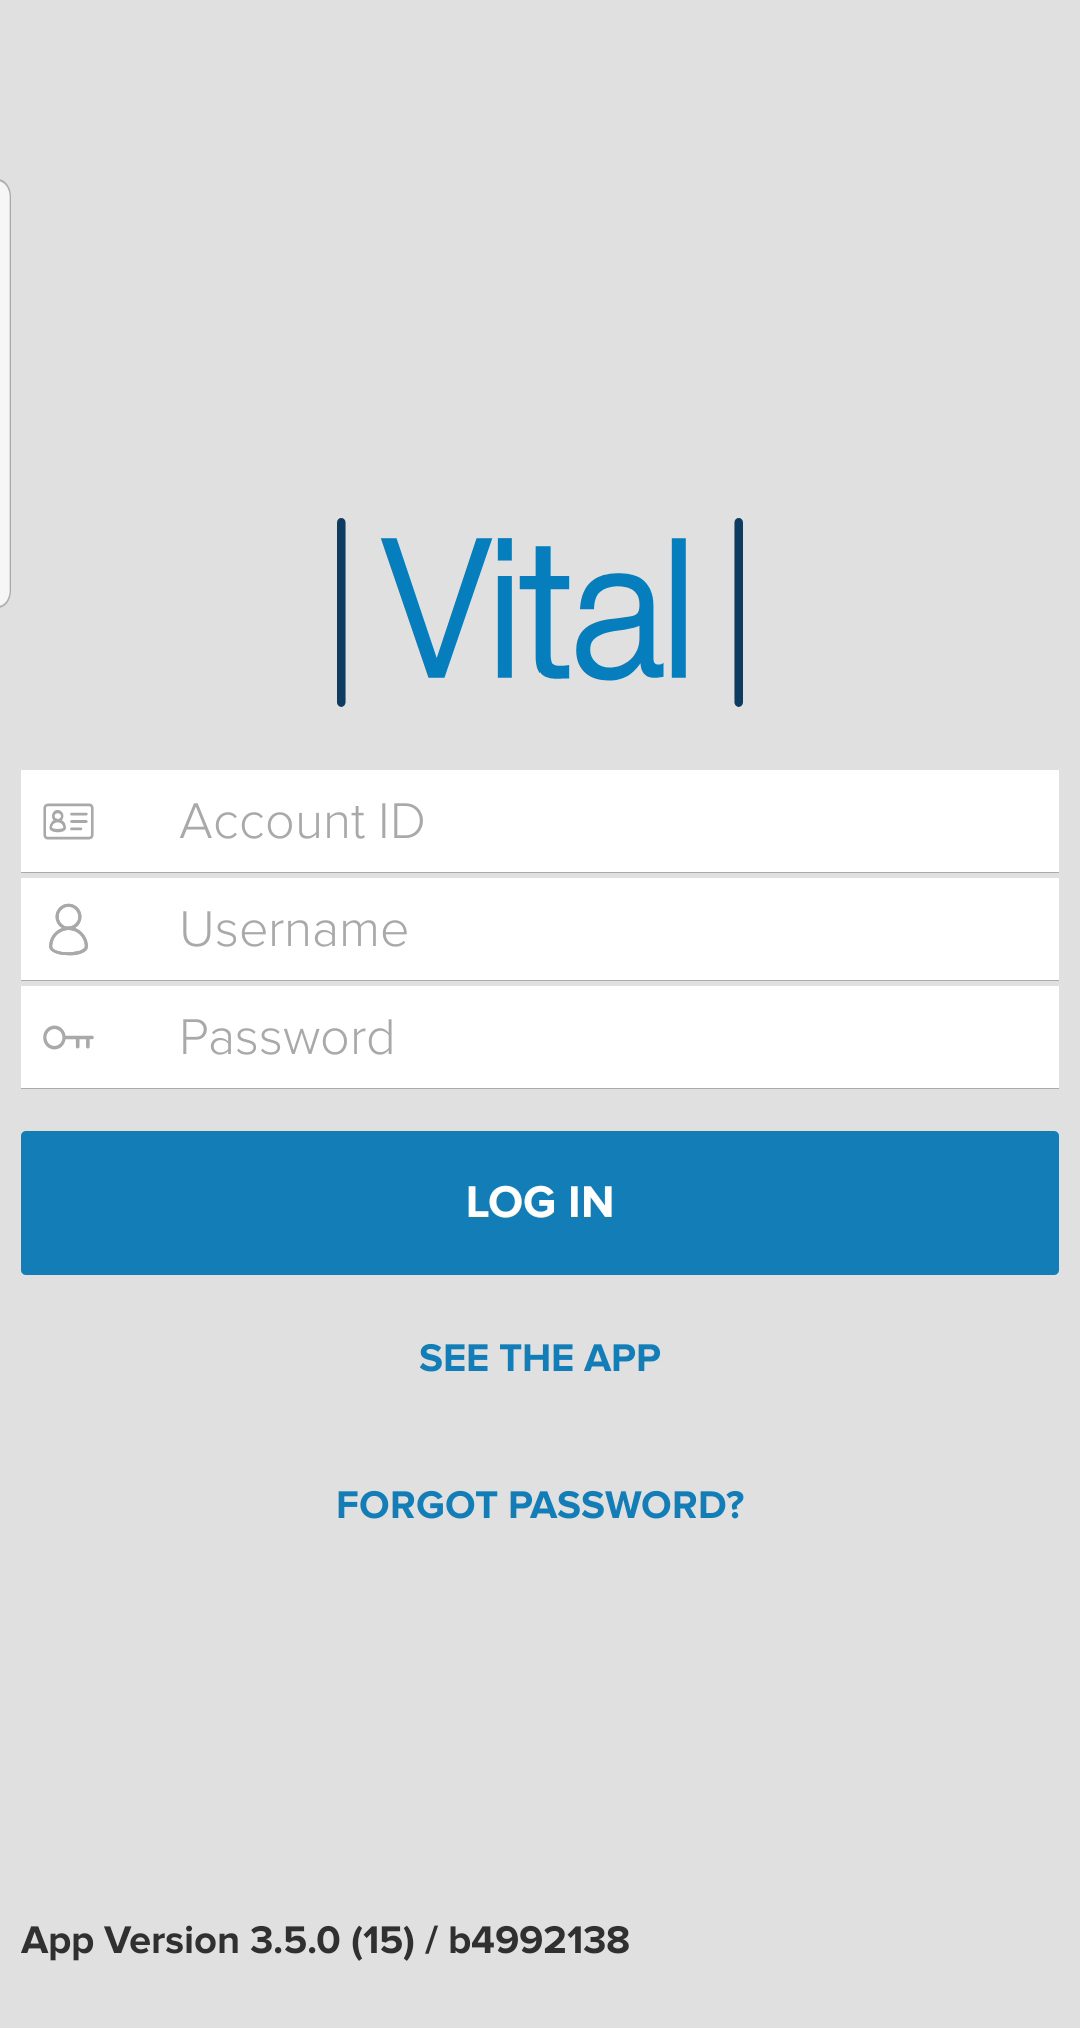
Before you can log into your Vital Mobile app for the first time, you must complete the Initial Setup of the POS. This Initial Setup process contains three quick and easy steps to get your account setup for the correct location.
Begin by turning on the POS and navigating to the log in screen. Enter the correct Account Number for the location, then enter the User Name and Password for the account. Once the information is entered, select the Log In button. This will direct you to the Initial Setup Screen.
Step One: Choose Location
Choose a location by selecting one of the choices that appear listed to the under the Choose Location tab. Only one location may be chosen for this POS so ensure that you are selecting the correct one.

Step Two: Choose Product Type
Next, select which type of app you'll be using. Since the Vital Mobile app is the only option on this screen it will be automatically selected for you.
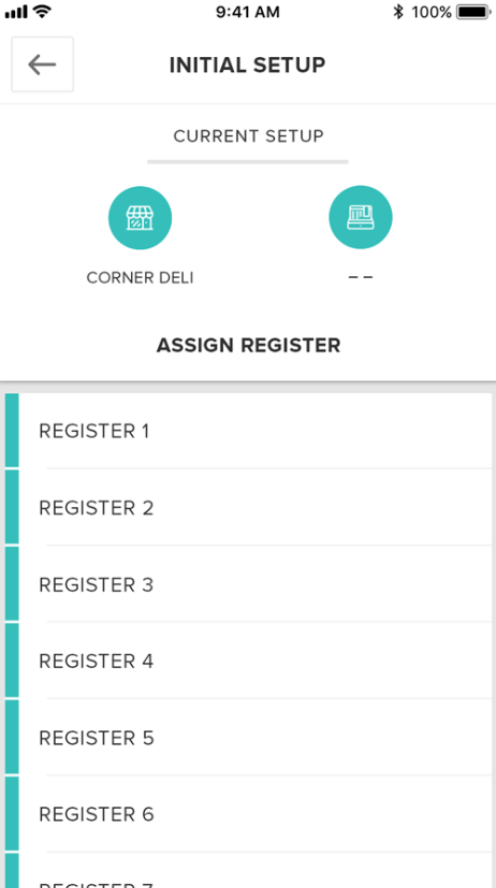
Step Three: Assign Register
Last, select which register will be assigned to this POS by choosing one the available options that appear to the right side of the Assign Register tab.
Once you have successfully completed these three steps, select the Save button located at the bottom of the Initial Setup screen to advance to the Vital Mobile app.
Note:
For a business with only one location, one product type and one register, this process will be automatically generated once logged into the POS.