Checkout
The Checkout Process completes a transaction for a Sale and allows you to begin serving your next customer. You can reach the Checkout Process in one of two ways. When compiling a sale in the Current Sales Tab, once you have finished selecting items for an Order and tap the Checkout Button at the bottom of the screen, you will then begin the Checkout Process. You can also start the Checkout Process by selecting the Checkout Button at the bottom of the Cart Viewer.
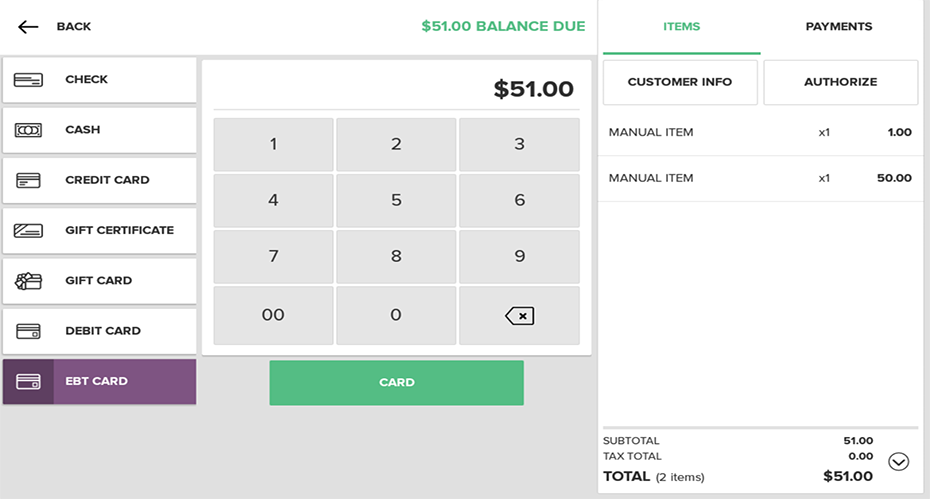
Payment Method Screen
The Payment Method Screen will display the total amount due at the top of the screen, with the available methods of payment - Check, Cash, Credit, Debit,
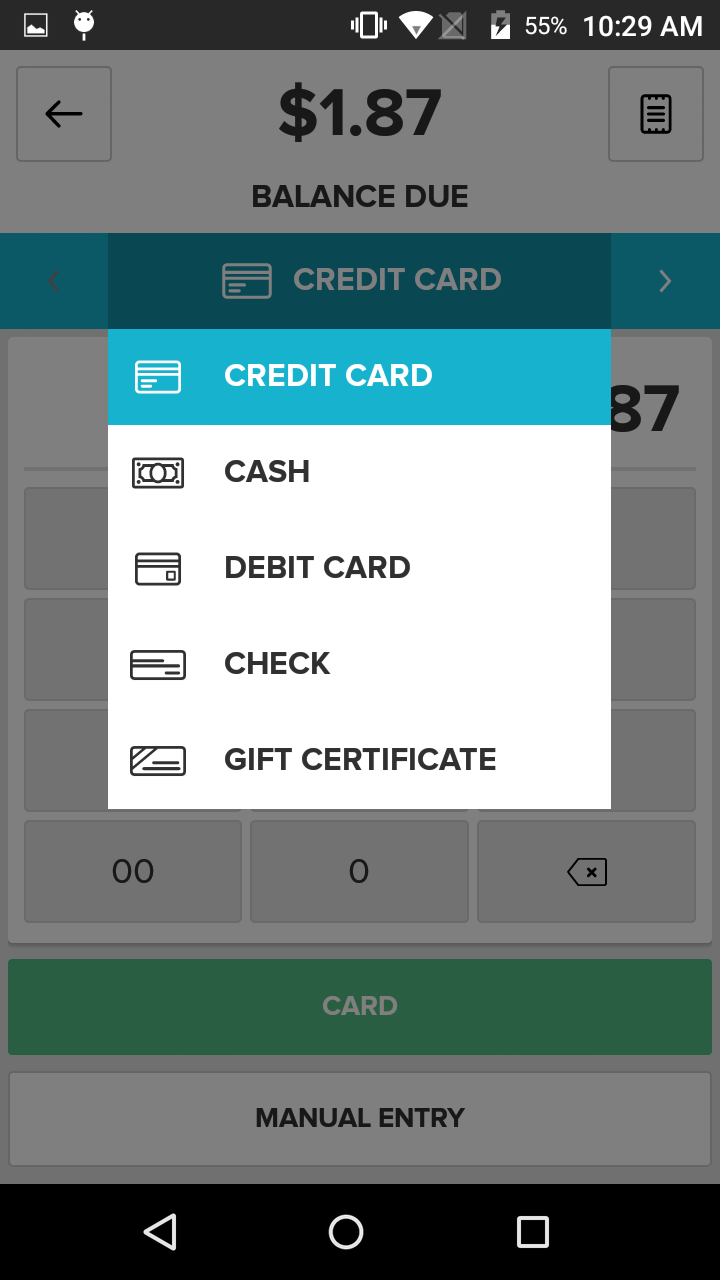
Tender Types
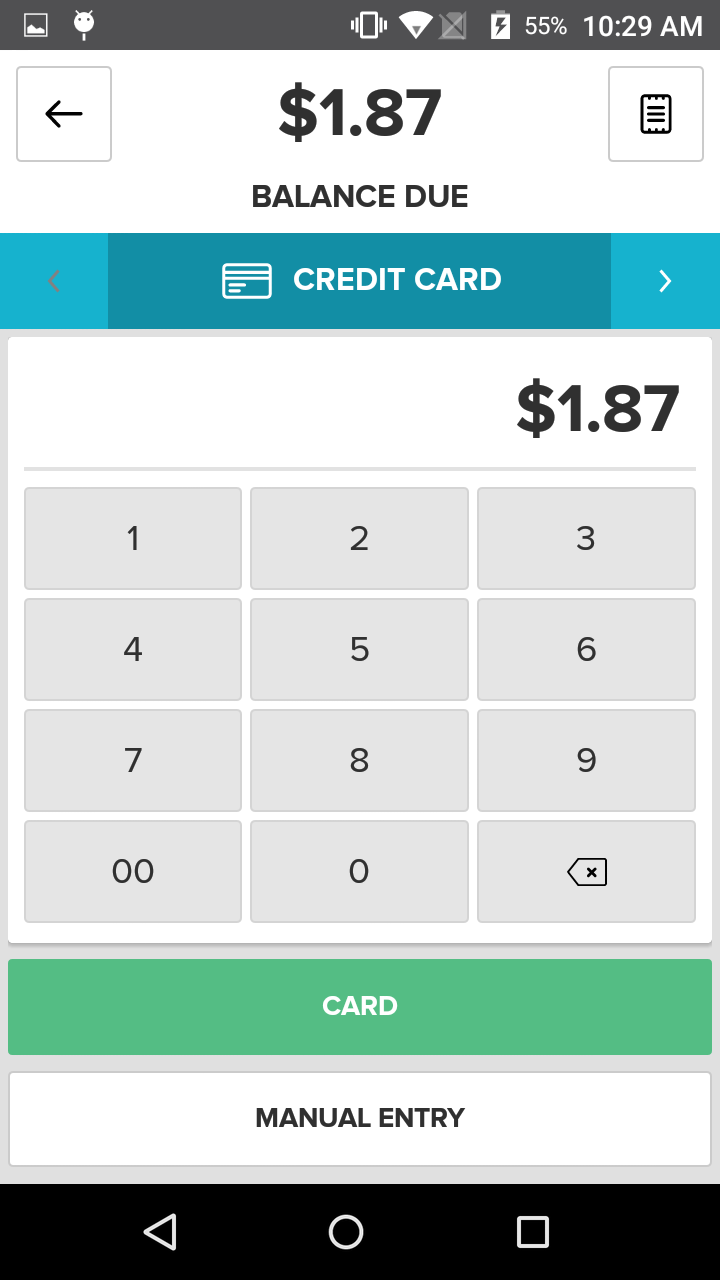
Credit Card Button
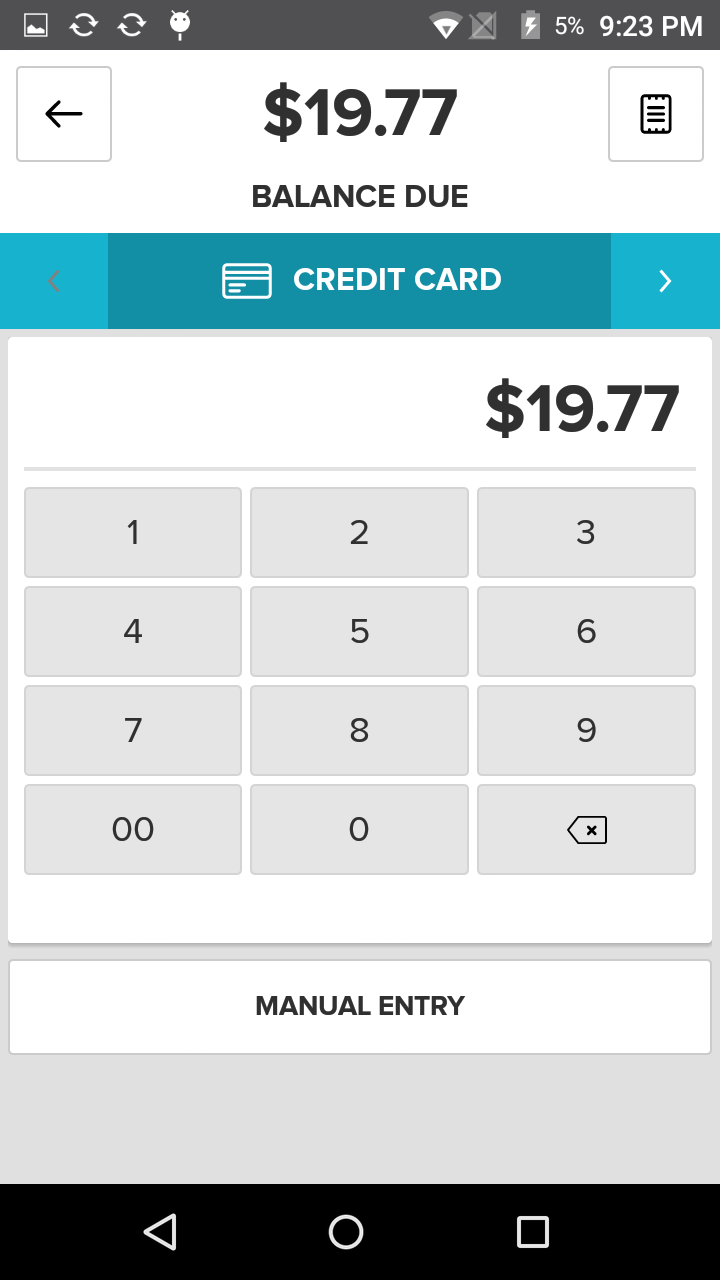
The Credit Card Button on the Payment Method Screen allows an employee to process a transaction using a credit card. Employees can enter the credit card information manually by selecting the Manual Button, or utilize a configured terminal to process the transaction by selecting the Card Button and swiping the credit card.
If the customer would like to pay an amount less than the total using their credit card – for example, in a split tender situation, a customer may elect to pay for a portion of their Sale by credit card, and the remainder of their Sale with cash or Gift Certificate – simply tap the Backspace Button on the number pad, and then enter the amount the customer wants to charge on the credit card using the numbers on the number pad. Then proceed with Checkout.
If no action is taken on the terminal for a significant amount of time, the terminal may timeout without processing the transaction. The point-of-sale will allow you to Repeat Request, and re-send the transaction information to the terminal.
Cash Button
The Cash Button on the Payment Method Screen allows an employee to select from three options: the Exact Button and two preconfigured cash option buttons. Select the Exact Button if a customer provides the exact total amount in cash. The two preconfigured cash buttons provide suggested amounts based on the total due for each transaction. For example, if the total due is $6.50, these two buttons may be $7 and $10. Either can be selected based on the amount of cash the customer wishes to use for the transaction. If the customer gives the employee an amount different than the exact total or the two preconfigured options, the employee may manually enter the amount of cash received using the number pad in the center of the screen. The amount entered will appear above the number pad as it is typed in, when finished select the Pay button at the bottom of the screen.
Once a cash amount has been entered or selected, the Customer Change Pop-Up will appear indicating the cash tendered, any outstanding balance of the Order, and the change due to the customer, if any. Selecting the Finish Button will cause the app to display the Receipt Screen or selecting the Cancel button will return you to the previous screen.

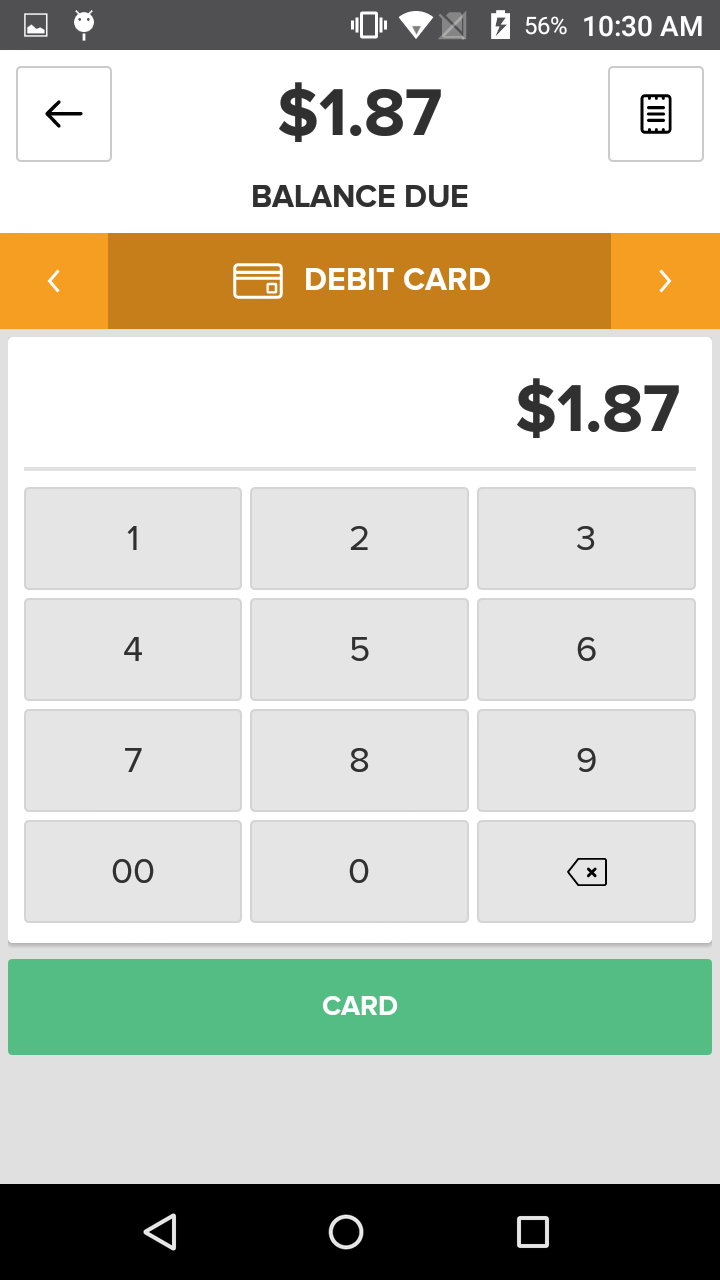
Debit Card Button
The Debit Card Button on the Payment Method Screen allows an employee to process a transaction using a debit card. Employees can utilize a configured terminal to process the transaction by selecting the Card Button and swiping the debit card.
If the customer would like to pay an amount less than the total using their debit card – for example, in a multiple tender situation, a customer may elect to pay for a portion of their Sale by credit card, and the remainder of their Sale with cash or other options – simply tap the Backspace Button on the number pad, and then enter the amount they want on the debit card using the numbers on the number pad. Then proceed with Checkout.
If no action is taken on the terminal for a significant amount of time, the terminal may timeout without processing the transaction. The point-of-sale will allow you to Repeat Request, and re-send the transaction information to the terminal.
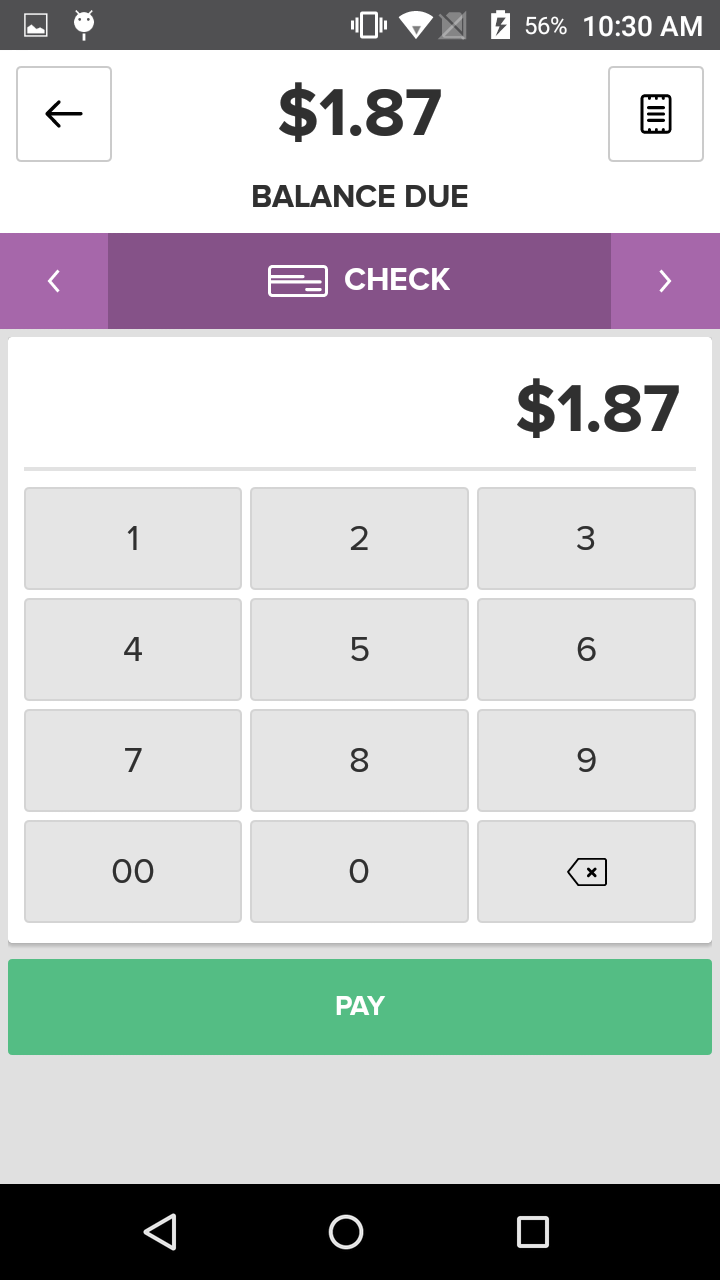
Check Button
The Check Button on the Payment Method Screen allows for Items to be paid for using a check. First select the Pay button, and then tap inside the Check Text Box and type in the check number or any other relevant information about the check. Similar to the Credit and Debit Card options, the customer may choose to pay only a portion of the Sale using a check, in which case the employee would use the number pad to enter the amount being paid for with a check.
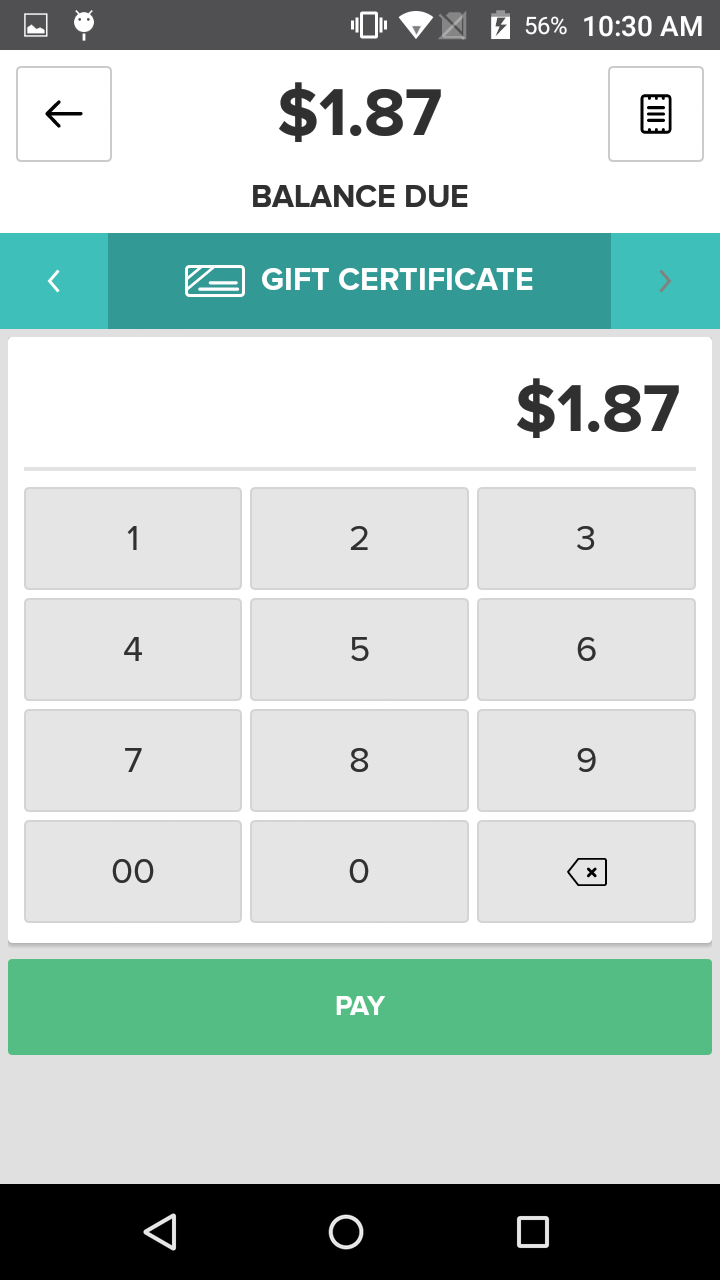
Gift Certificate Button
The Gift Certificate Button on the Payment Method Screen allows for Items to be paid for using a Gift Certificate. First select the Pay button, and then tap inside the Gift Certificate Note Text Box and type in any relevant information about the Gift Certificate that was used. Similar to the Credit and Debit Card options, the customer may choose to pay only a portion of the Sale using a Gift Certificate, in which case the employee would use the number pad to enter the amount being paid for with a Gift Certificate.
EBT Card Button
The EBT Card Button on the Payment Method Screen allows an employee to process a transaction using an EBT card. Employees can utilize a configured terminal to process the transaction by selecting the Terminal Button and swiping the EBT card.
If the customer would like to pay an amount less than the total using their EBT card – for example, in a split tender situation, a customer may elect to pay for a portion of their Order by EBT card, and the remainder of their Order with cash – simply tap the Backspace Button on the number pad, and then enter the amount they want on the EBT card using the numbers on the number pad. Then proceed with Checkout.
If no action is taken on the terminal for a significant amount of time, the terminal may timeout without processing the transaction. The point-of-sale will allow you to Repeat Request, and re-send the transaction information to the terminal.
Payments Screen
On the Tenders screen, select the Receipt button on the upper right side of the screen. This will direct you to the Payments screen. The Payments screen show the item breakdown and the displays the tenders that have already been applied to the current order. You can also select the overflow button at the top of the screen to access the Authorize and Split Balance screens.
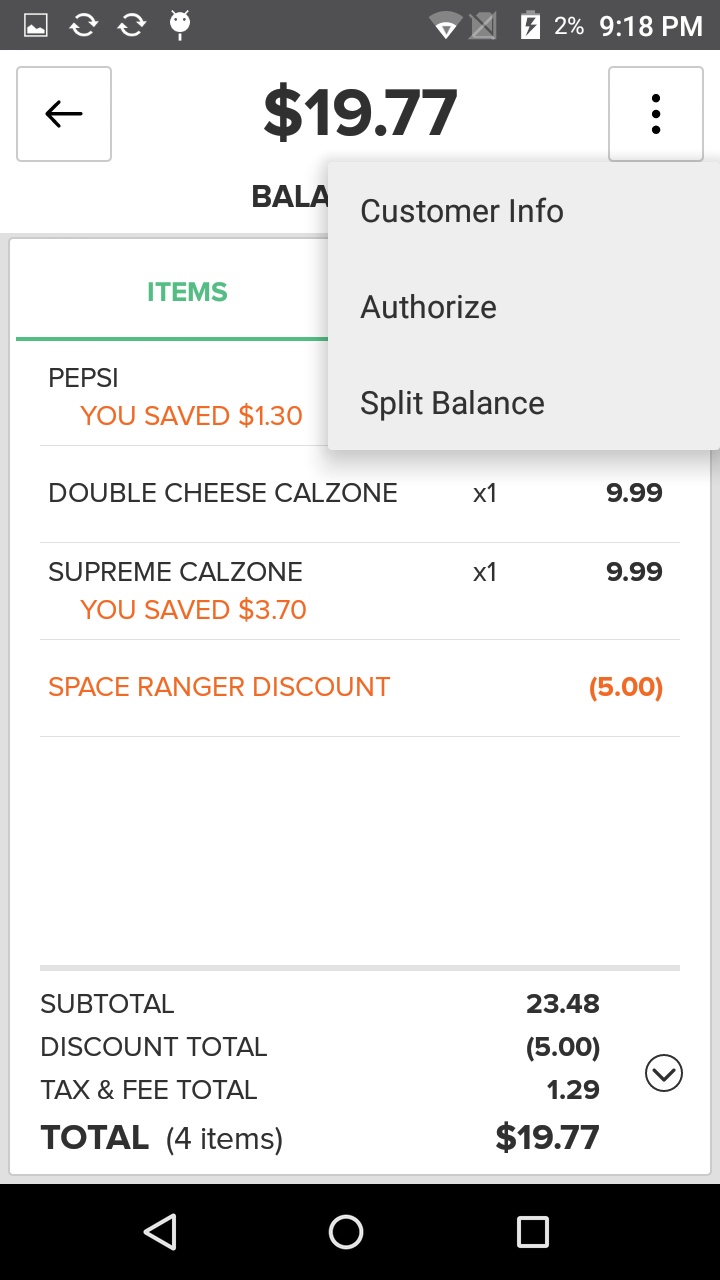
Authorize
The Authorize button will prompt a user to manually enter a Voice Authorization Code for the card that is being used for that specific tender.
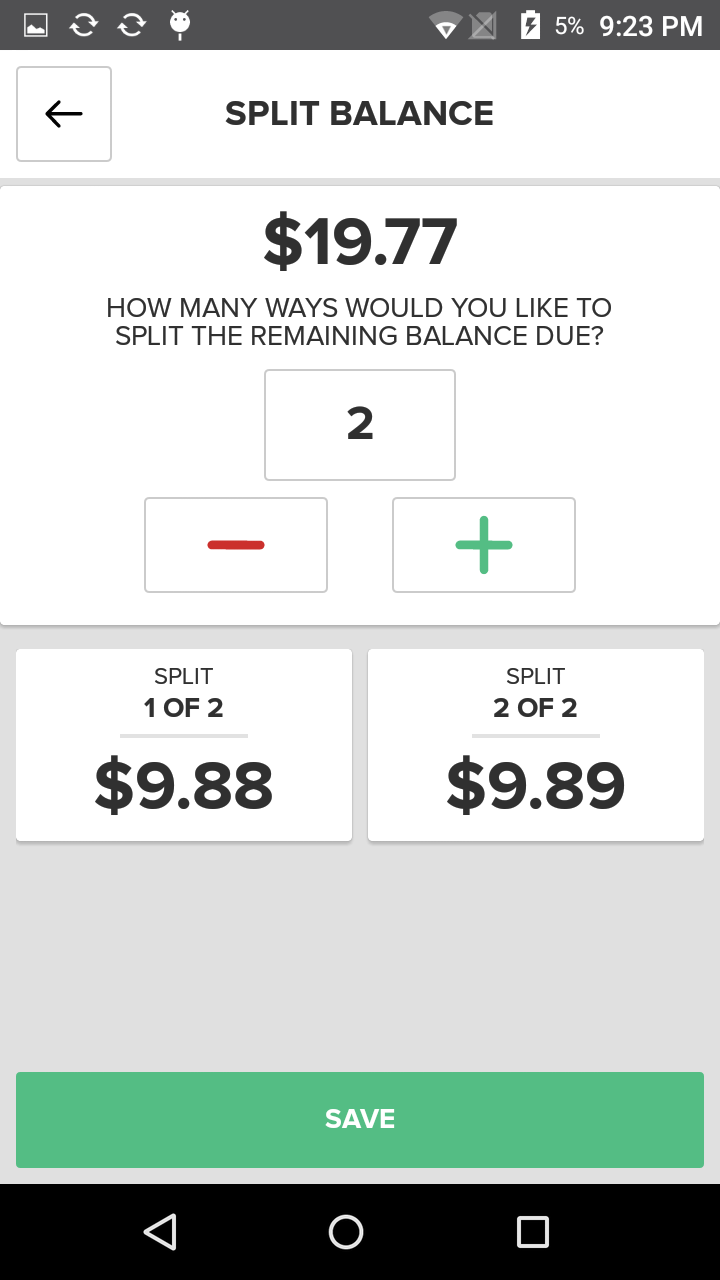
Split Balance
The Split button will allow a user to evenly split the balance of an order by 2 or more.
Receipt Screen
Each of the payment methods conclude with a Receipt Screen, allowing you to Email a Receipt to a customer, Print a Receipt on a printer, or select the Complete Order Button, in which case the point-of-sale will not direct a printer to produce a receipt. Click here for assistance configuring and troubleshooting printers.
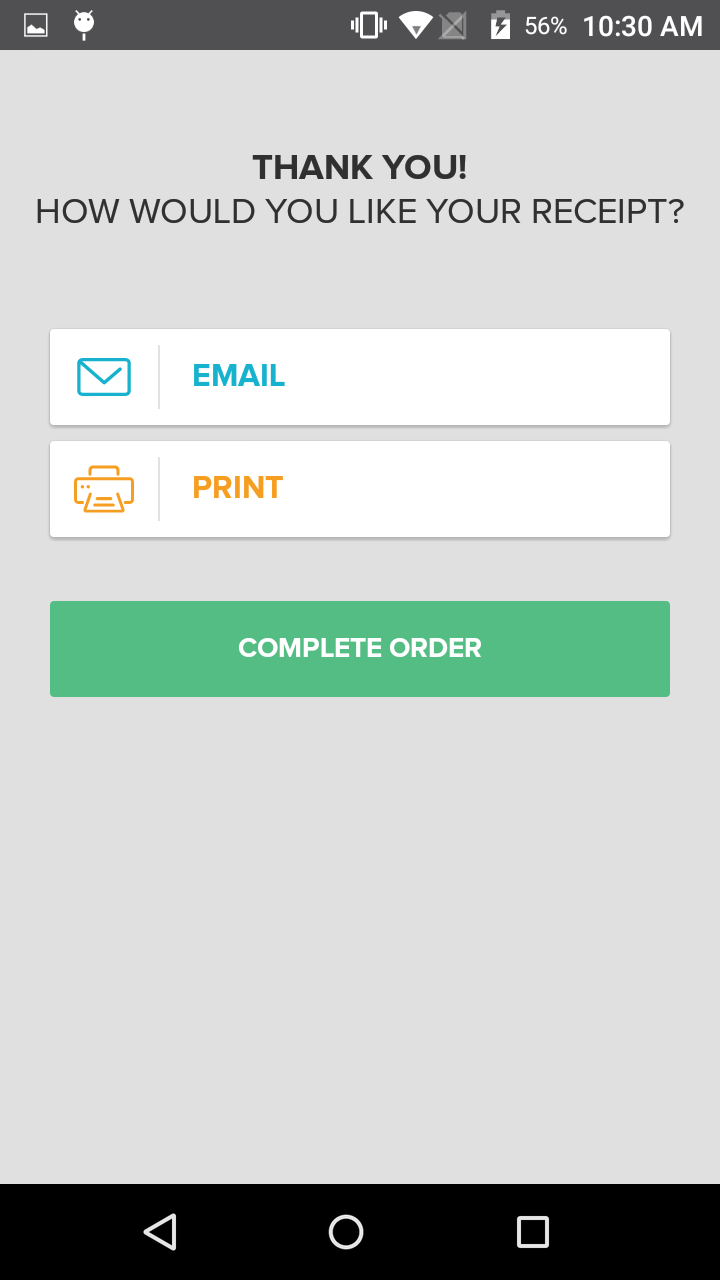
After completion of the Receipt Screen, Vital Plus will return you to the Current Orders Tab and briefly display an “Order Complete!” message.
Note
It is important to remember that once you’ve arrived at the Payment Method Screen, your only options are to: complete the transaction through Cash, Credit, Debit, Gift Certificate, Check, or Go Back to the Current Sales Tab. If you would like to remove/add items, select the Back Button in the top left corner of the screen and proceed accordingly on the Current Sale Tab.
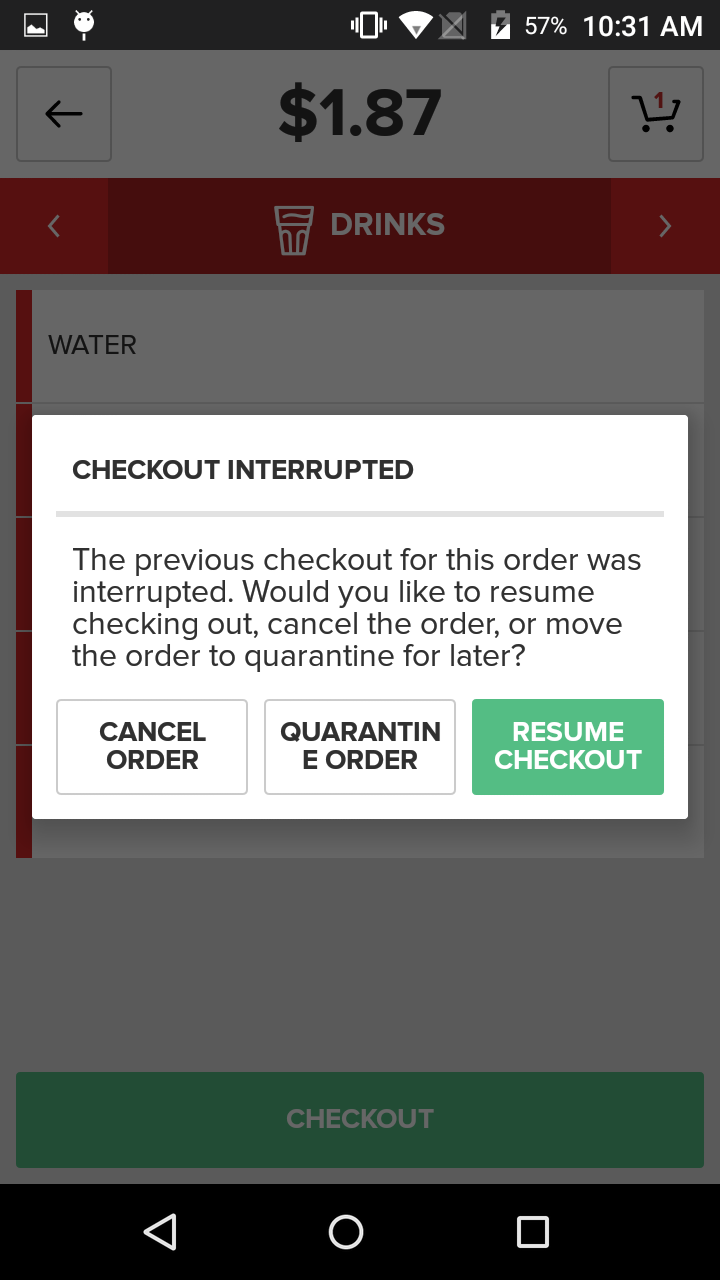
Interrupted Order During Checkout
After an order is tendered during the Checkout process, if the order gets interrupted or the app crashes before the order is completed, when a user logs back into the app a prompt will appear with three options to choose from:
- Cancel Order
- The order will be canceled and the associated tenders will be voided.
- Quarantine Order
- The order will be moved to the Quarantine in the Completed Orders section so that the order can be dealt with at a later time. To learn more about the Quarantine click here.
- Resume Checkout
- The user will be brought back to the previous state where the transaction left off and the Checkout process can be continued. To learn more about the Checkout process click here.