How to Add Groups
Adding a Group is a two-step process. In the first step you will enter Group details on the Add Group page. In the second step you will use the Edit Group page to finish the Add Group Process.
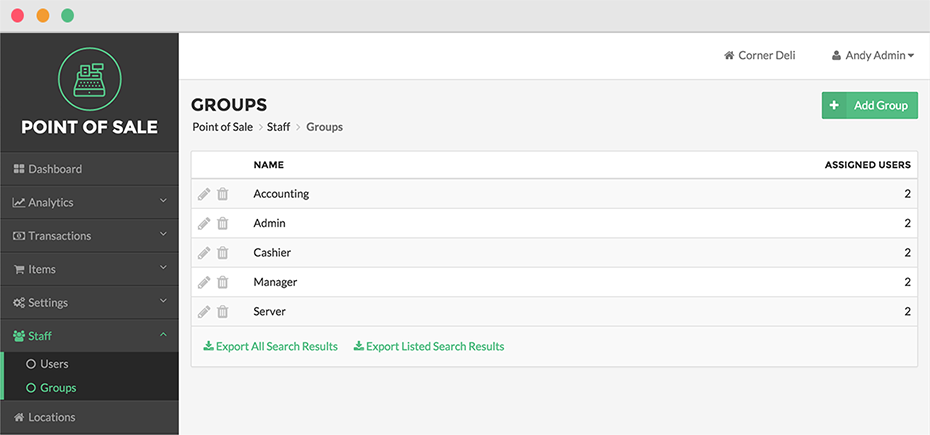
To Add a Group, click Staff in the Navigation Menu, then click Groups from the Staff Expanded Menu. Click the Add Group Button located in the upper right hand corner of the screen. Enter a name for the group in the Name text box. Click Save.
After clicking Save, you will be directed to the Edit Group Page to finish the Add Group Process. The Permissions Table lists six Categories of functions and access features: Items, Locations, Management, Registers, Security, and Transactions. Select the checkboxes next to specific actions or permissions you would like the Group to possess. Or to select all actions/permissions for a Category, click the checkbox next to the Category Name. Click Save when finished.

Step by Step Summary
- Click Staff in the Navigation Menu, then select Groups from the Staff Expanded Menu
- Select the Add Group Button in the upper right hand corner of the screen
- Enter a name for the new Group in the Name text box
- Click Save
- You will be taken to the Edit Group Page to finish the Add Group Process
- Select the checkboxes next to the actions and permissions you would like the Group to possess
- Click Save when finished
Concept Information
Related Tasks