How to Issue a Full Refund From Your Register
Vital Select makes it easy for you to perform refunds directly from your POS app. To refund an Order, select the Orders Button from the Launch Screen, and then select the Completed Tab. Find the Order you wish to refund on the Completed Screen by tapping the Completed Button in the left column and scrolling through the Completed Orders List in the center of the screen. If the Order is not included in the current Batch, use the Search Screen to locate the Order by either entering the Date / Time for the time period during which the Order occurred, or by entering the Order Number.
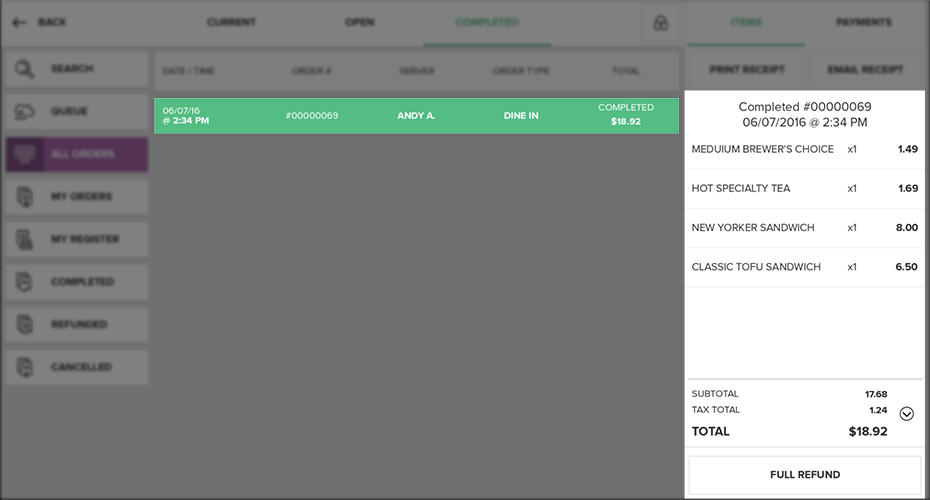
Once you have identified and located the Order you wish to refund in the Orders List, press on the panel that contains the Order. The Order will be loaded in the Receipt Viewer on the right side of the screen.
Note
If the Order you wish to refund was completed while your register was offline, and the Order has not been uploaded yet, read here for more information.
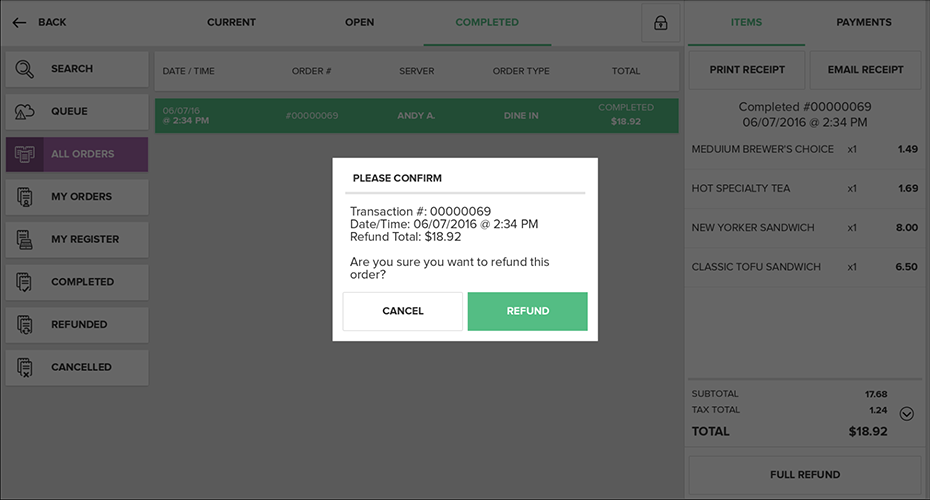
Press the Full Refund Button at the bottom of the Receipt Viewer. A pop-up will appear with information about the Order you are refunding. This includes the Transaction Number, the Date/Time of the Order, and Refund Total. You can use this information to verify that you have selected the right Order and confirm the total that will be refunded.
To proceed with the refund, press the Refund Button. If you discover that the information does not match or you wish to cancel the Refund Process for any other reason, you may do so by pressing Cancel.
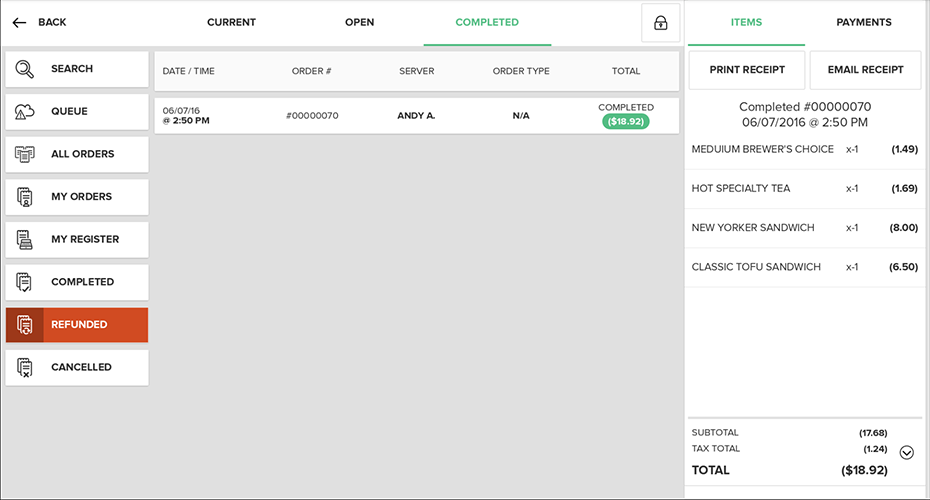
After you press the button to confirm the issuance of the refund, a small notification will appear at the bottom of the screen saying Refund Completed Successfully. You will be directed to the Refunded Screen with the refunded Order loaded in the Receipt Viewer with information about the refund. This information includes the Refund Number, the Date/Time of the refund, the Items in the Order, and the total amount refunded to the tender type used to pay for the Order. You will also be able to print or email a receipt for the refund by pressing the Print Receipt or Email Receipt buttons towards the top of the Receipt Viewer.
Quick Summary
- Select the Orders Button from the Launch Screen, and then select the Completed Tab
- Find the Order you wish to refund
- Select the Completed Button in the left column and scroll through the Completed Orders List in the center of the screen, OR
- Select the Search Button in the left column and search for the Order by either entering the Date / Time for the time period during which the relevant Order occurred, or by entering the Order Number
- Once located, tap the Order Panel in the center of the screen. The Order information will load in the Receipt Viewer on the right side of the screen.
- Press the Full Refund Button at the bottom of the Receipt Viewer
- A pop-up will appear with information about the Order you are refunding
- To proceed with the refund, press the Refund Button
- If you wish to cancel the Refund Process for any reason, press the Cancel Button