How to Add Items to a Sale
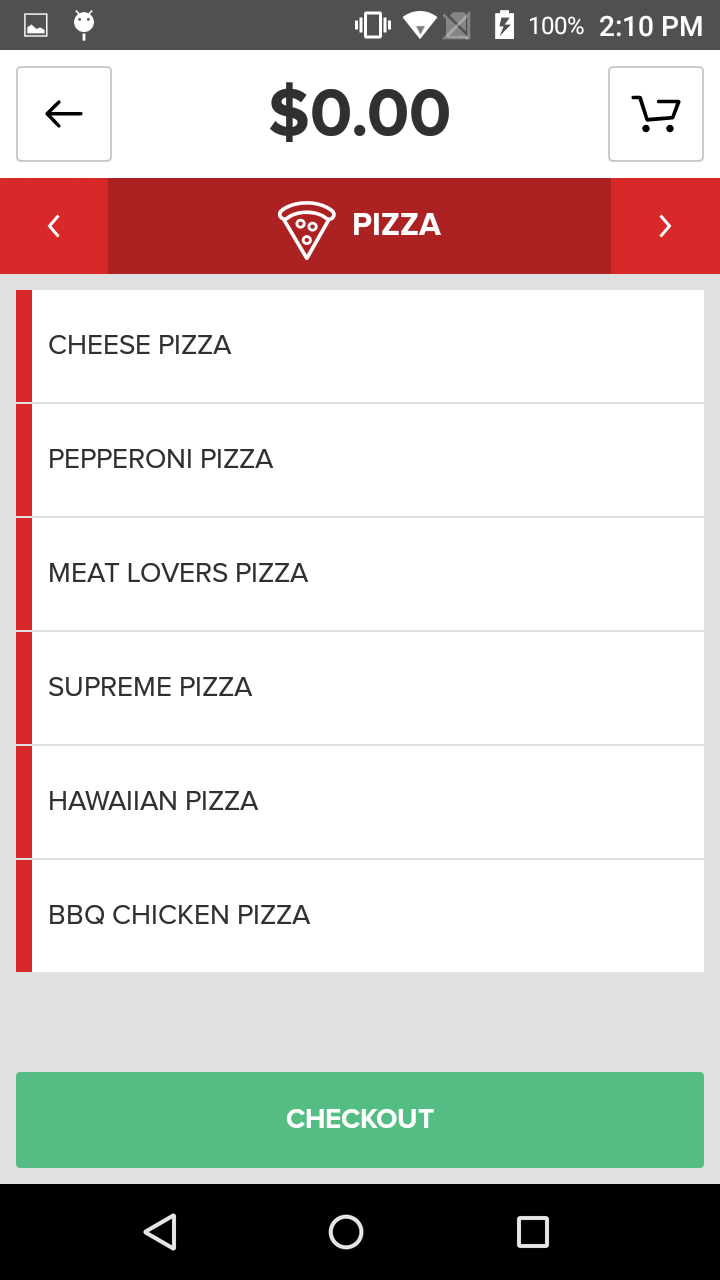
Current Sales Screen
When you press the Sale Button on the Home Screen and land on the Current Sales Screen, your first category will be preselected in the in the top middle section of the ribbon, and just underneath are the Items organized within that category. To navigate between categories, you can either select the forward and backward arrows on the ribbon tab or tap the category name in the center of the ribbon to populate a dropdown list off all categories listed. The last option is to swipe the screen to the left or the right to more between categories. To Add an Item to a Sale, tap any Item Button in the center of the screen. You can choose from your Inventory of Items based on the Screen Layouts you created in the Portal. Each Screen Layout is located in the center of the screen. Once you locate the Screen Layout, tap it to fill the center of the screen with the Items within that Screen Layout. Press any Item Button to add that Item to the Sale.
Manual Items
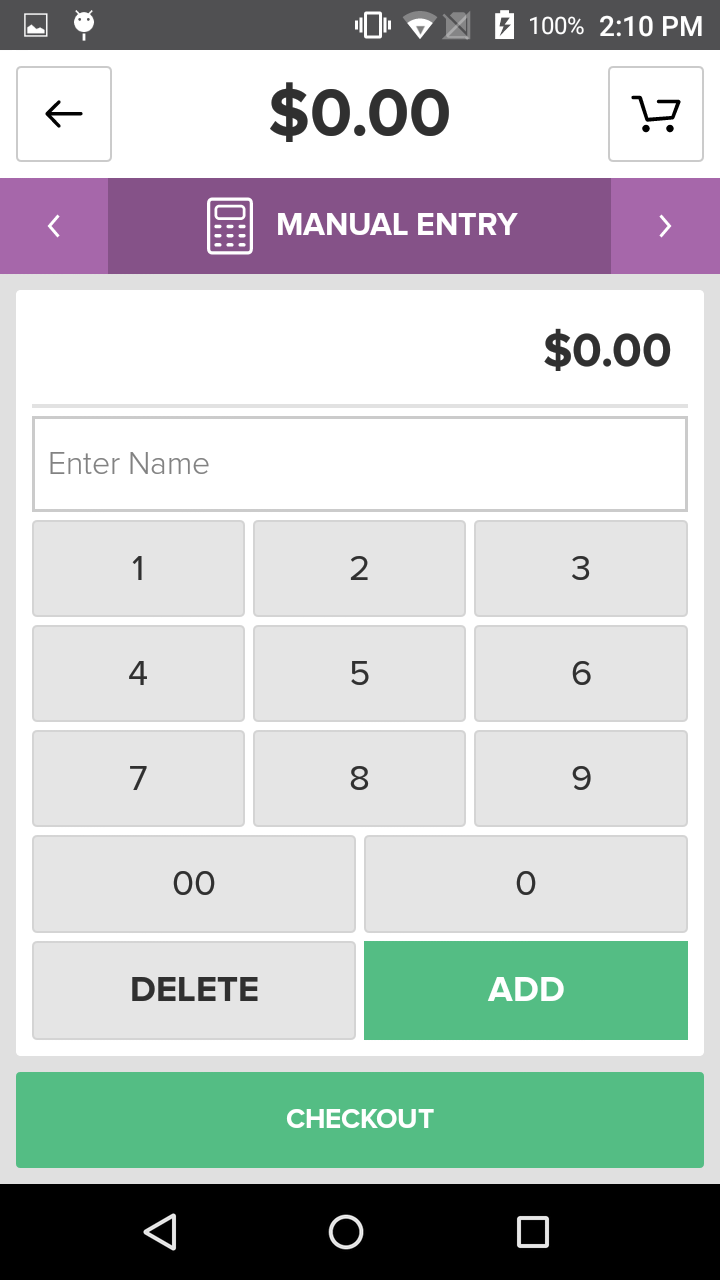
The Manual Item Screen allows you to enter an Item Price and Item Description without adding a new Inventory Item. This feature may be used by merchants with a relatively small list of inventory Items, or for a brand new item not yet added to your Inventory, but still available for sale in your store.
When you navigate the Manual Entry Screen, the center of the screen loads a number pad and a text box. To add a Manual Item, enter a price and press the Add Button. You may also enter an optional Item Name by tapping inside the text box and entering the description with the keypad that appears. Adding a Manual Item is permission based, so only specified users will have access to this feature.
It is important to remember that Manual Items added to a sale are not saved in your Inventory for future use; they are one-time, quick entries. In order for employees to select items for a Sale, it is recommended that you add an Inventory Item within the Portal for future use, rather than rely on the Manual feature.
Favorites Tag
To quickly access commonly ordered Items, it is a good idea to create a Favorites Screen Layout in the Portal and organize your most popular Items within that Screen Layout. Then, you can edit the layout of your Screen Layouts to have your Favorites Screen Layout at the top of the left-hand column. This is because when you navigate to the Current Screen, your first Screen Layout will be preselected in the left-hand column, filling the center of the screen with the Items organized within that Screen Layout. Thus, putting your Favorites Screen Layout at the top of the column will provide quick and easy access to your popular Items. For more information on creating and sorting Screen Layouts, click here.
Search Items
The Search Feature allows you to easily search through your entire Inventory without browsing through Screen Layouts. This is ideal for larger inventories, but may be useful in a variety of retail, service, and restaurant environments. When you press the Search Button, a keyboard will appear; as you start typing, search results will populate the center of the screen. Once you have found the Item you were searching for, tap the Item Button to add the Item to the Sale.
It is important to note that the Search Feature displays only Inventory Items, thus these searches will not retrieve Modifiers or Discounts, for instance. Items can be searched according to their name, or by Item Code. For example, a “German Chocolate Slice” can be searched by its name or by its Item Code, “100073.”

Scan Item
The Scan Item button allows you to can a barcode to add an Item to the order. To scan an Item to add to a sale, you must first have the scanner enabled in the Register Settings. Once you have enabled the scanner, navigate to the Search screen, and then select the barcod