Registers
The Registers Page enables you to quickly and easily view a list of your Registers, Add new Registers, and Edit existing Registers.
A Register represents the combination of your hardware and the Vital Select app. For example, if you have two sets of point-of-sale hardware that you use to log into Vital Select app to take Orders and accept payments in your business, each of the two is an individual Register and will have its own associated Transactions and its own associated Batches.
View Registers
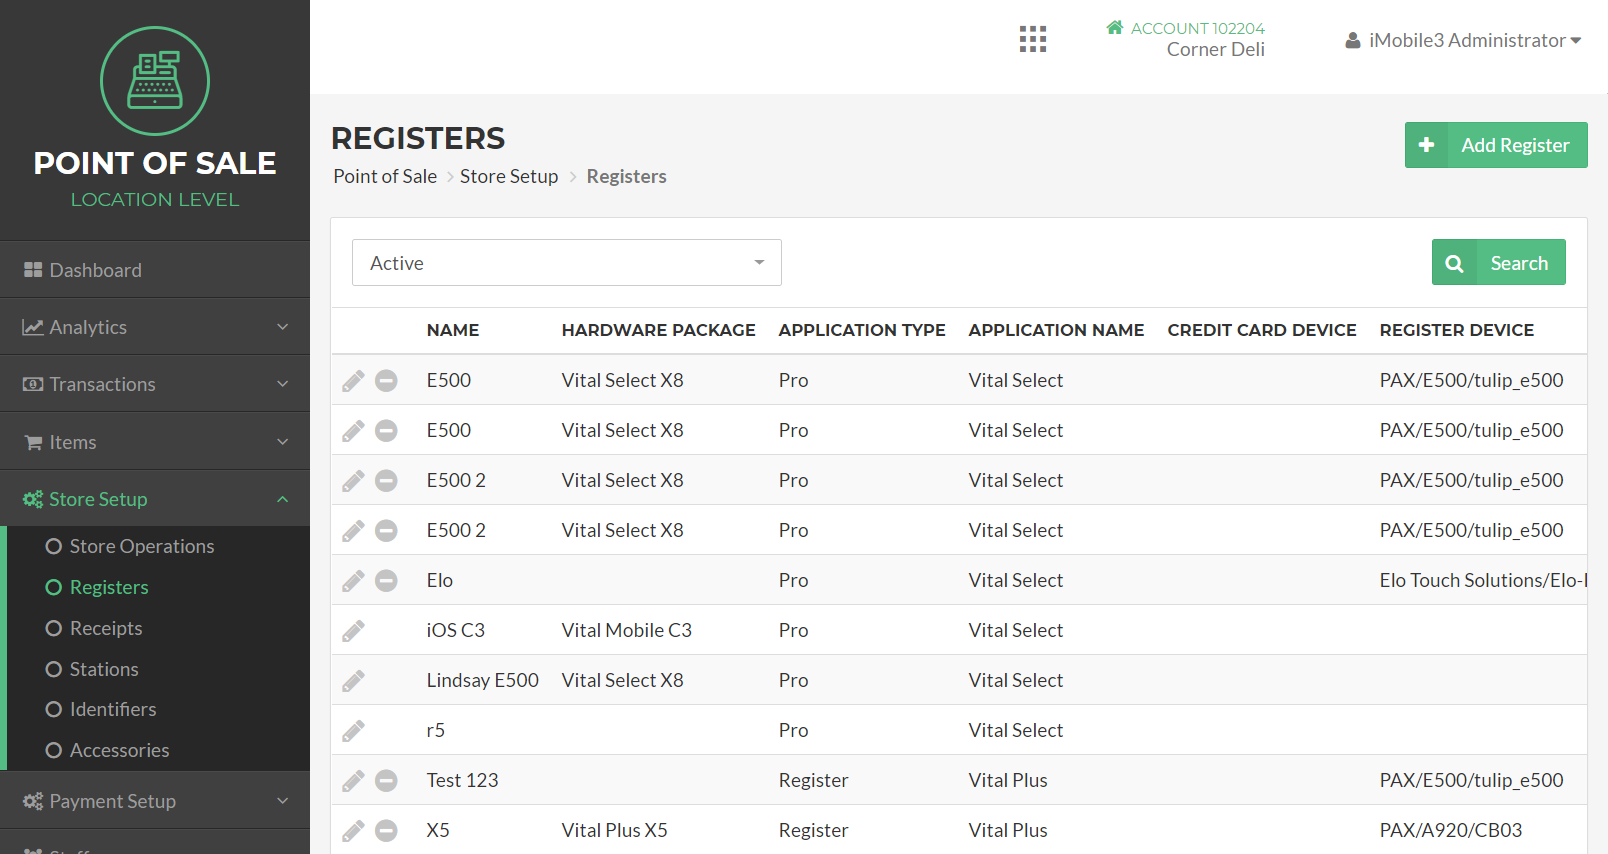
The Registers Page allows you to quickly see a list of Registers that have been added for your business.
Note
If your business has multiple Locations, you will need to select a specific Location for which you wish to view existing Registers. To select a Location, click the Location Drop Down Menu at the top of your screen.
Registers are displayed as rows in a table with five columns that provide more information about each Register in the list. By default, Registers are displayed in alphabetical order by Register Name. However, if you would like the list of Registers to be displayed according to a different order, click on the Column Name by which you wish the list to be ordered.
You can filter the list of Registers to display only Active or only Inactive Registers, by selecting the Active or Inactive from the All Registers Drop Down Menu at the top of the Registers Table and clicking the Search Button.
To view all Registers, select All Registers from the drop down and click the Search Button. This will display all Active and Inactive Registers for the location.
The Registers Page also allows you to export a CSV document of all, or some of, your Registers for viewing in an external program by clicking either Export All Search Results or Export Listed Search Results at the bottom of the Register Table.
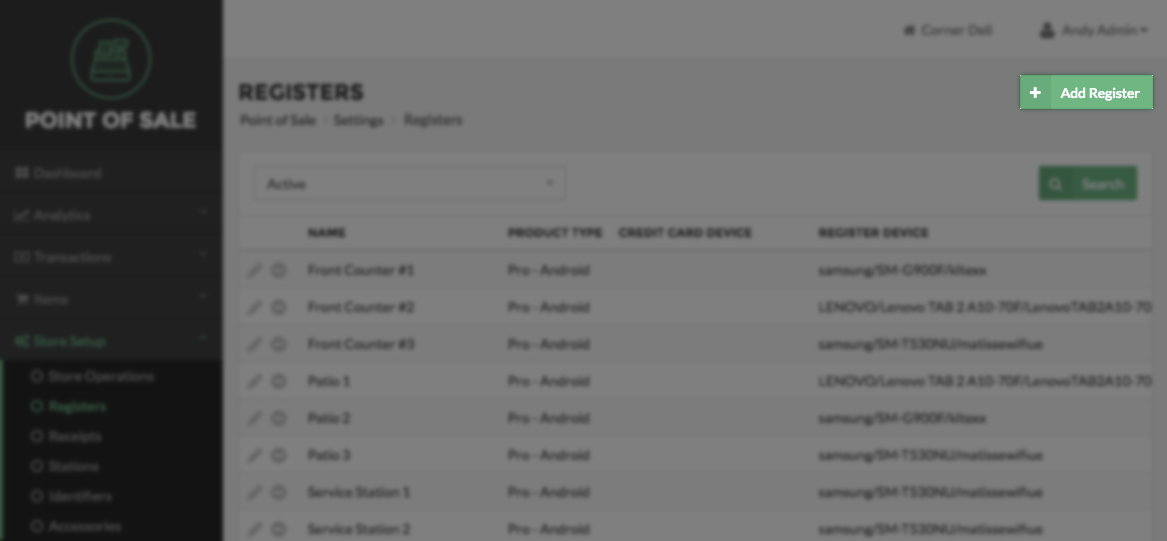
Add Register
You can add new Registers to your business by clicking the Add Register Button on the Register Page.
The Add Register Page includes a panel where you will be able to enter a Name, Description, Terminal ID, Application Type and Register Template for the new Register. You will also be able to set the Status of the new Register.
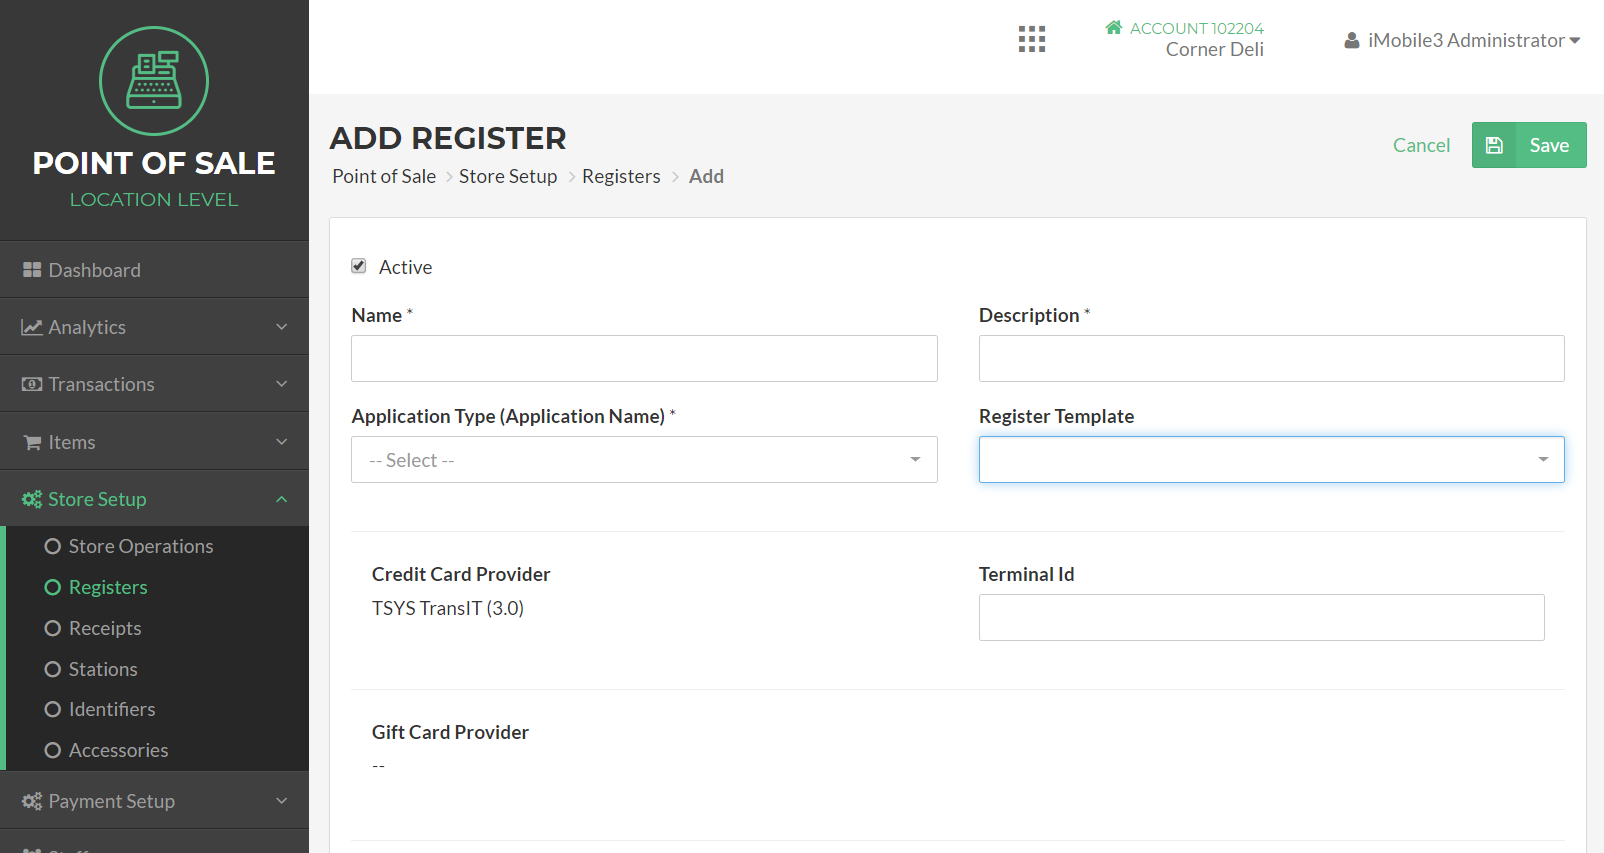
Status
A Register can either be Active or Inactive. When a Register is Active, it is available for normal use. When a Register’s status is set to Inactive, Users will not be able to log in to Vital Select using that Register.
Name
The name you enter here will be used to identify the Register. For example, in Transaction Listings, each Transaction will have a field noting the Register that was used for the Transaction. This name will reflect what you enter here.
Description
This description will be used as an additional way for you to differentiate one Register from another.
Application Type
This is where you select the Vital Select application type for the register.
Register Template
Select a Register Template for the register being used. The template configures some register settings upon login of the register.
Terminal ID
Enter the Gateway Terminal ID that was issued for you to use.
Item Type
Select the Item Type that will be associated with this Register. Item Type refers to the version of the Vital Select app that will be used by this Register. The differences between Vital Select Item Types may include the availability of features and support for hardware like Printers.
When you have completed entering Register details, click the Save Button to add the new Register. If you wish to cancel without adding the Register, click Cancel. Clicking either Save or Cancel will navigate you back to the Registers Page.
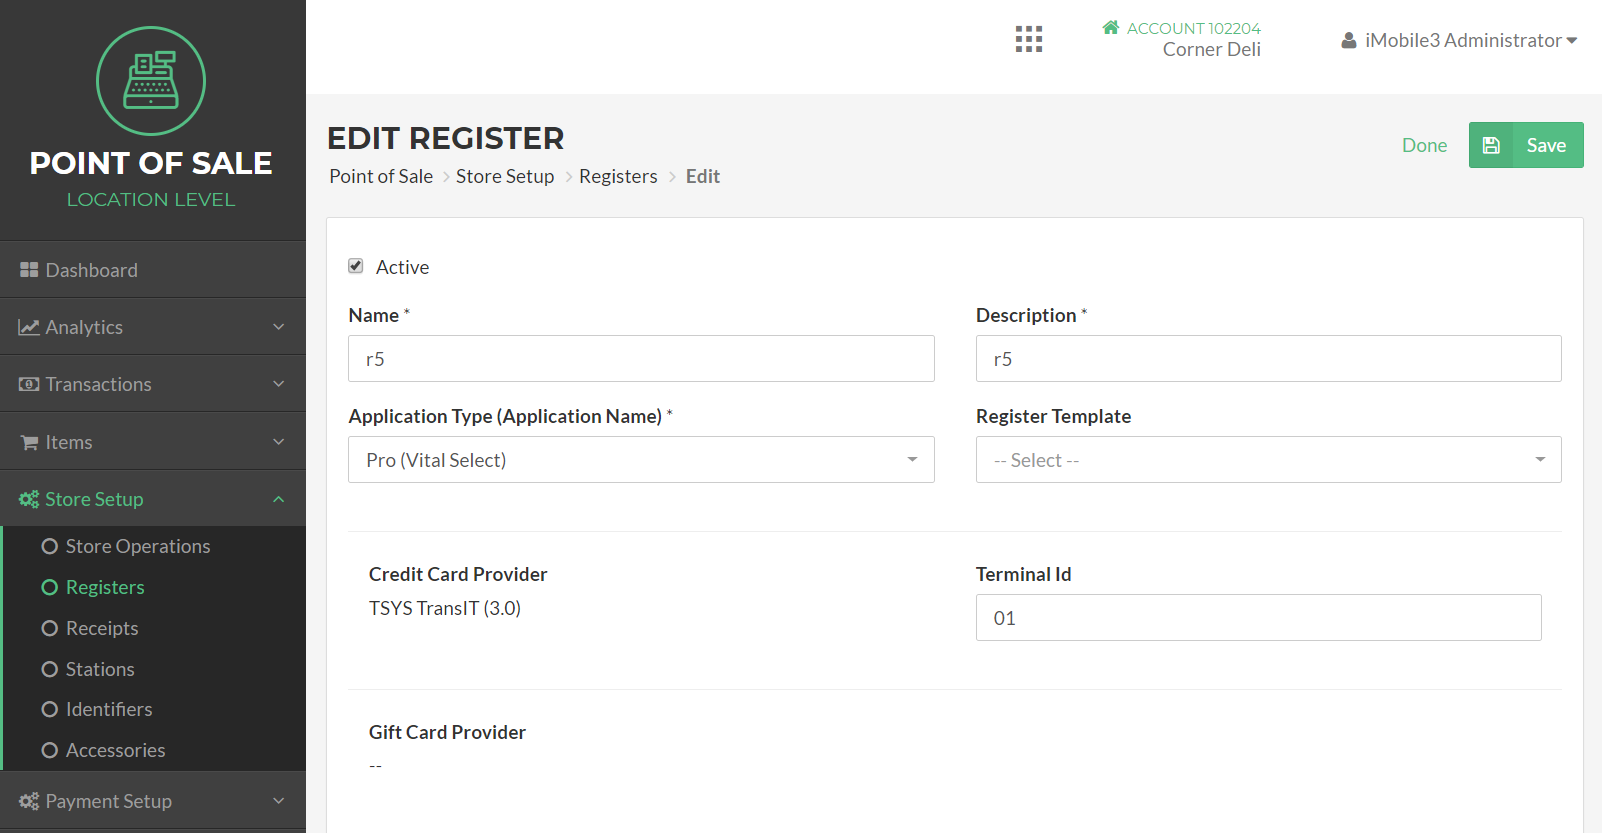
Edit Register
The Registers Page also enables you to edit a Register by clicking the Edit Register Button, represented by the Pencil Icon, to the left of the Register Name.
The Edit Register Page includes a panel where you will be able to edit the Name, Description, Gateway Terminal ID, and Item Type.
You can also set a Order Receipt Number that helps to differentiate between orders when using multiple registers at the same location.
For more information about these fields see the Add Register section above.
Assigned Devices
If you have associated a device with this Register, that is, if you have logged into Vital Select with your hardware, the panel will display information about that device. If you setup a card swiper to use with the device, information about the card swiper will be displayed here as well.
If you change the Item Type, the Register will become unassigned, meaning that any existing association with a device will be removed. If you log into Vital Select from that device you will need to select the Location and Register again as you did upon logging in for the first time.
You can manually unassign a Register by clicking the Unassign Button at the bottom of the panel.
When you have completed editing Register details, click the Save Button. If you wish to cancel without saving your edits, click Cancel. Clicking either Save or Cancel will navigate you back to the Registers Page.