How to Edit Stations
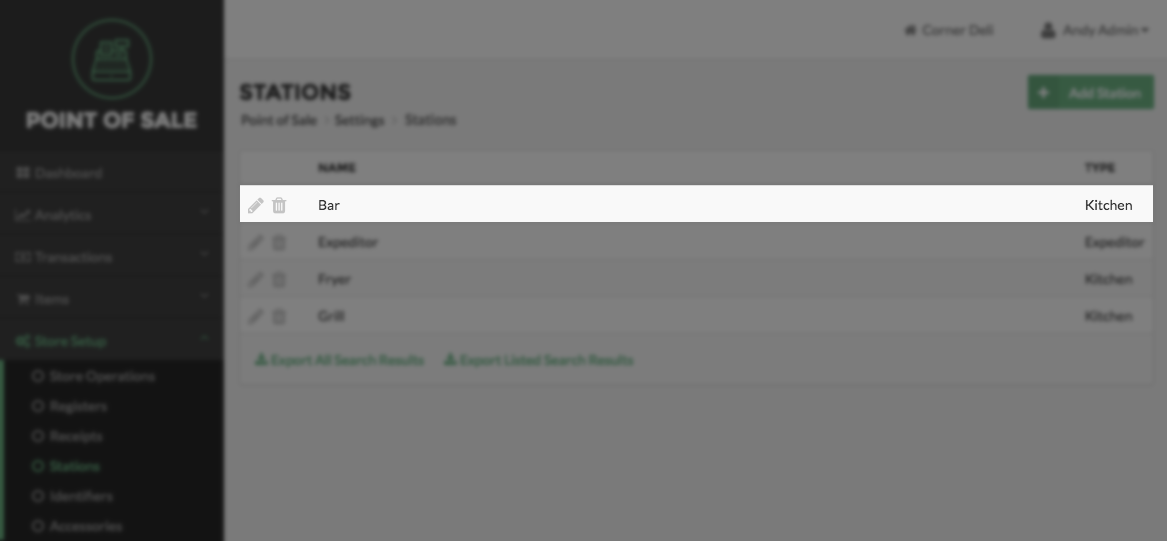
To Edit a Station, begin by selecting on Store Setup on the left side of the left Navigation Menu, and then choose Stations from the listings. On the Stations Page, click the Edit Station Button, represented by a Pencil Icon on the left side of the Station you wish to edit.
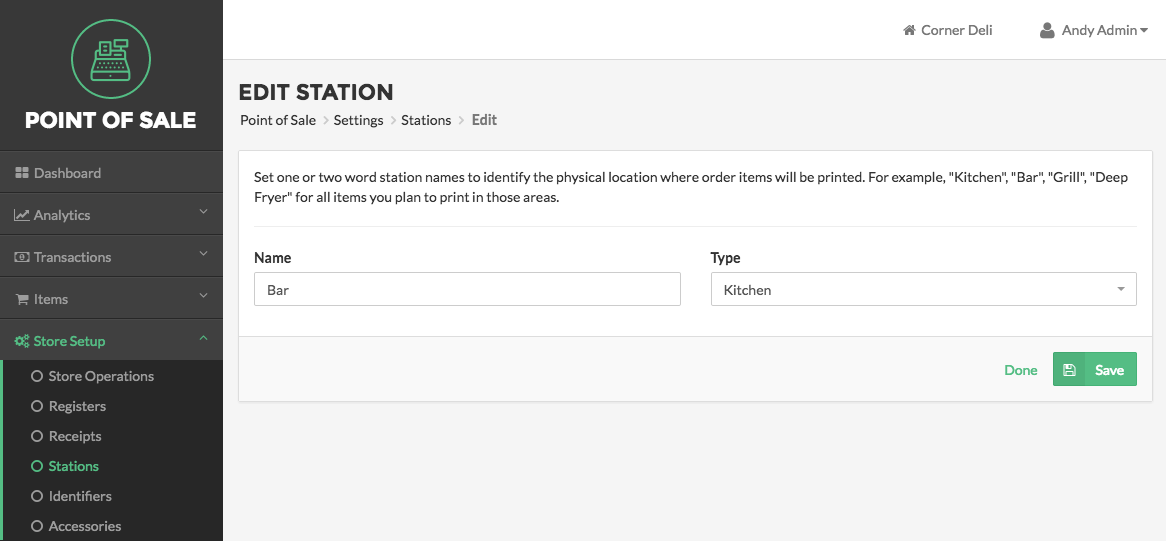
On the Edit Station screen, edit the Station Name. The name you enter here must be unique. For example, you cannot have more than one Station that is named Kitchen at any single Location. Next, select the station Type from the dropdown menu that appears. There are two available Station Types: Kitchen and Expediter. A Kitchen Station will behave differently from an Expediter Station in one key respect. The standard Kitchen Station will print Receipts that only include items that have been added to be printed at that Station. Whereas, the Expediter Station will print Receipts that include all items. This allows an Expediter to keep track of Orders and helps the Expediter facilitate the proper preparation of Orders that contain kitchen and non-kitchen Items.
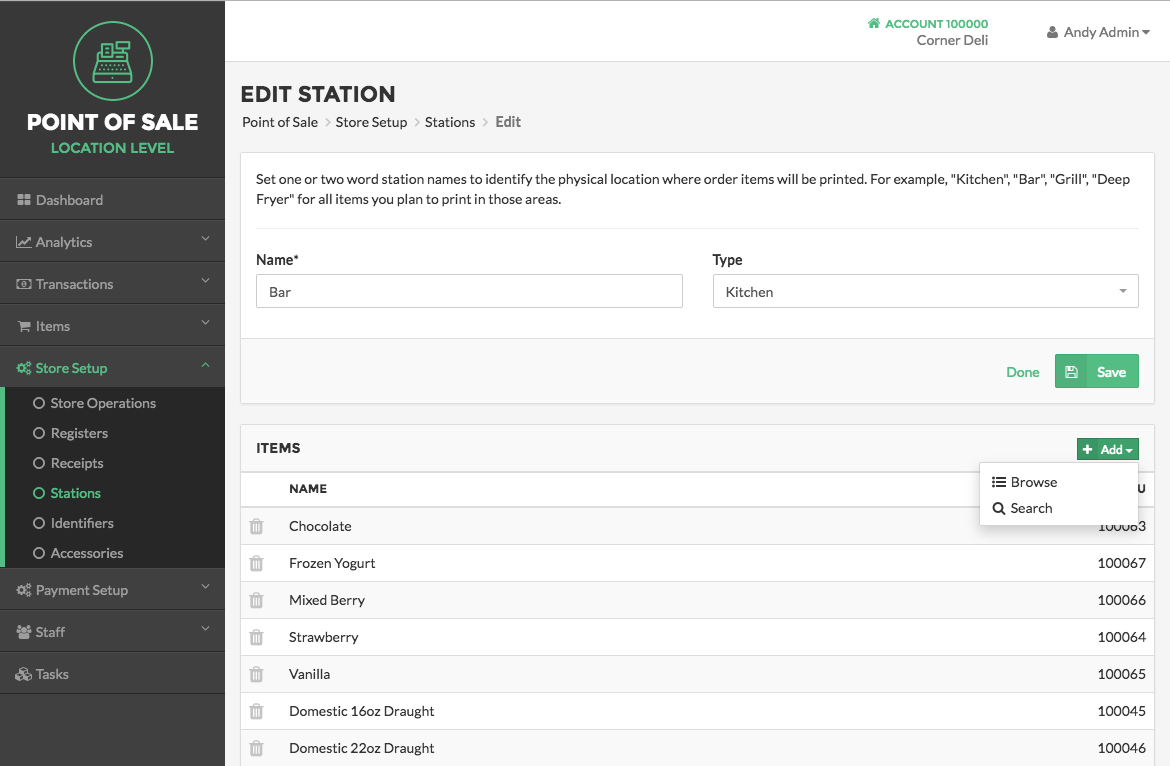
For Kitchen Printers, Once you have edited the Station Name and Type you will need to add Items to the Station. Locate the Items section and select the Add button. This will cause a pop-up to appear. Select the Items or Groups you wish to add to the station and then select the Save button located on the bottom right of the pop-up.
When you have completed editing Station details, click Save. If you wish to cancel without saving your edits to the Station, click Done.
Quick Summary
- Select Store Setup on the left side of the Navigation Menu, and then choose Stations from the listings.
- On the Stations Page, click the Edit Station Button represented by a pencil.
- On the Edit Stations Page, enter a Station Name and set the Station Status.
- Add Items to Kitchen Station Printer
- Click Save when finished entering Station details.