How to Edit an Item
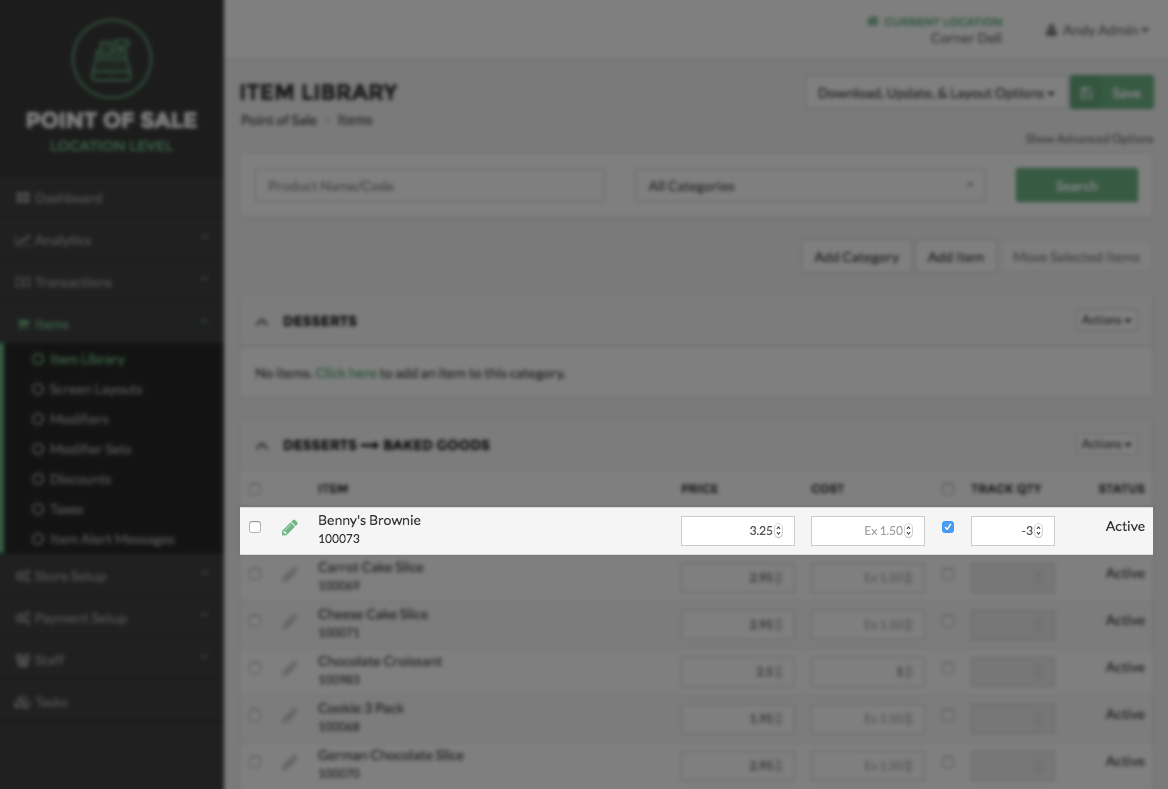
To edit an Item in the Item Library, start by selecting Items on the left side of the Navigation Menu, and then select Item Library. From the Item Library screen locate the Item you choose to edit by viewing the Items that are under the Category, Subcategory or Groups listed. Then select the edit Item button, represented by a pencil, to the left of that Item. This will direct you to the Edit Item screen.
Note:
A user with multiple locations will not have the Taxes, Alert Message, Order Ahead, Quantity Tracking, Station Assignment, Modifiers and Modifier Sets options from the Account level using the Merchant Portal. These options must be edited for each individual store from the location level using the Merchant Portal.
Edit Item Information
Edit Item Information
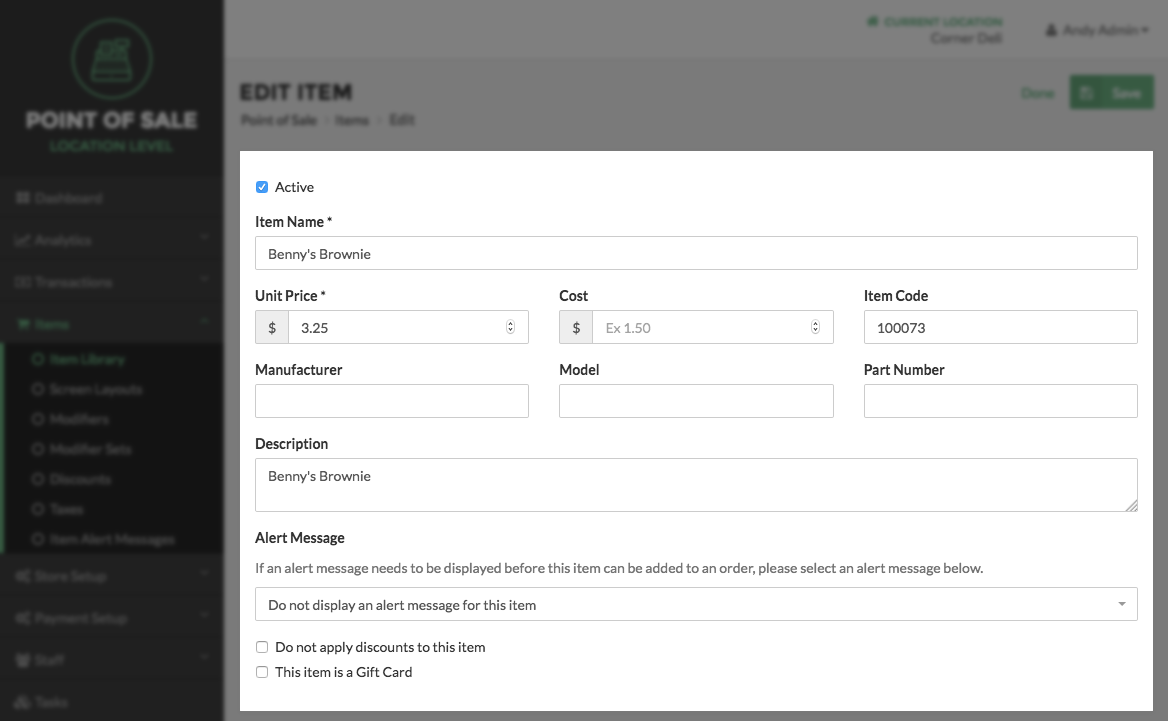
To edit the general information for an Item: Item Name, Unit Price, Cost, Item Cost, Manufacturer, Model, Part Number and Description, select and change the information listed in any of those fields.
Edit Taxes
To edit the taxes for an Item select the taxes selection box in the Taxes section and choose one or more option from the dropdown menu.
Assign Alert Message
To add an Alert Message that will be displayed before an Item can be added to an order select the arrow to the right side of the Alert Message selection box and choose an option from the dropdown menu.
Edit Discounts
To edit whether or not an Item is discountable , select or deselect the checkbox to the left side of the relevant option.
Edit Where an Item Will Appear
Item Library Position
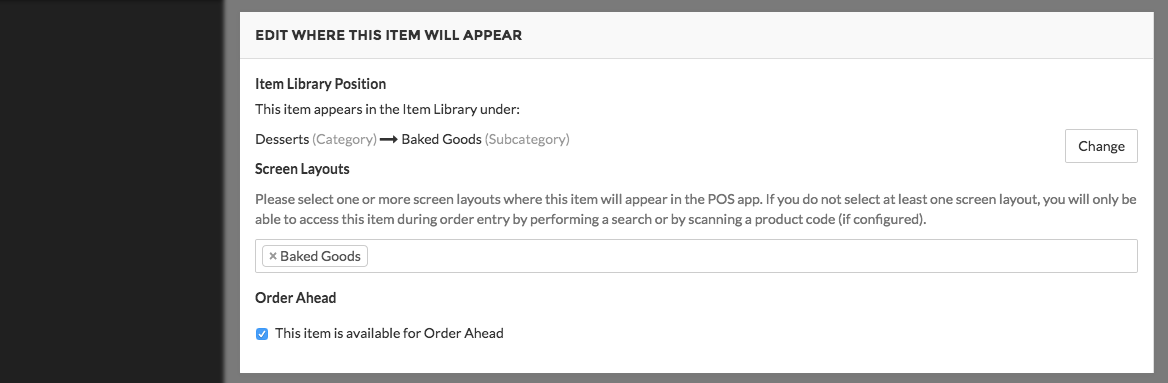
To edit where an Item will be located in the Item Library select the Change button to the right of the Item Library Position section.
Item Screen
To edit where an Item will be located in the POS application select option box below the Item Screen section, and then choose one of the options listed in the dropdown menu.
Enable Order Ahead
To enable or disable an Item to be available for Order Ahead, select or deselect the checkbox next to the Order Ahead option.
Edit How This Item Will be Used
Turn on Item Quantity Tracking
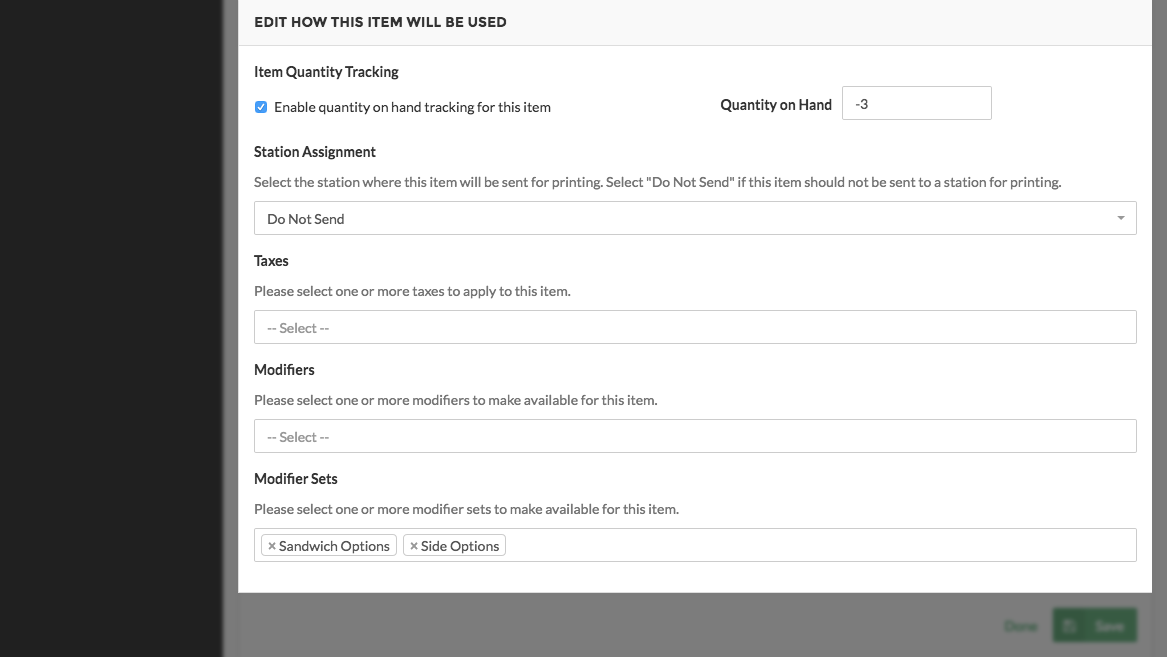
To enable or disable Item Tracking for an Item select or deselect the checkbox to the left of the Enable Quantity Tracking option. Then enter the quantity of that Item in the box to the right of the Quantity on Hand field. Once Quantity Tracking is turned on, the quantity of the Item will be deducted from the Quantity on Hand field as it is sold.
Station Assignment
To choose a station an Item will be printed at, select the arrow to the right of the Station Assignment field, and then select an option from the dropdown menu. If an Item will not be printed on a specific station then select the No Station option from the dropdown menu.
Adding Modifiers
To add Modifiers to an Item select the arrow to the right side of the Modifiers field, then select one or more option from the dropdown menu.
Adding Modifier Sets
To add Modifier Sets to an Item select the arrow to the right side of the Modifier Sets field, then select one or more option from the dropdown menu.
Once finished select the Save button located at the top or bottom right side of the Edit Item screen.
Note:
You may cancel this process at any time by selecting the Cancel button located at the top or bottom right side of the Edit Item screen.
Step By Step Summary
- Select Items on the Navigation Menu on the left side of the screen, and then select Item Library.
- Locate the Item you wish to edit and select the edit Item button represented by a pencil, to the left side of the Item.
- Edit the Item information by selecting any field in the listing and changing the information.
- Edit the Taxes of an Item by selecting the taxes option box in the Taxes field, and then choose an one or more options from the dropdown menu.
- Add an Alert Message to an Item by selecting the arrow on the right side of the Alert Message field, and then choose an option from the dropdown menu.
- Edit whether or not an Item is discountable , select or deselect the checkbox on the left side of the relevant option.
- Edit where an Item will be located in the Item Library, by selecting the Change button to the right of the Item Library Position section.
- Edit where an Item will be located in the POS application select the option box under the Item Screen section and choose one or more of the options listed in the dropdown menu.
- Enable or disable Order Ahead by selecting or deselecting the checkbox on the left side of the Order Ahead option.
- To enable or disable the Item Quantity Tracking feature, select the checkbox on the left side of the Enable quantity on hand option. Next enter the quantity of the Item in the Quantity on Hand option box.
- Set a an Item to print at a specific station by selecting the option box under the Station Assignment section, and then choose one or more options listed in the dropdown menu.
- Add Modifiers to an Item select the optin box under Modifiers field, then select one or more option from the dropdown menu.
- Add Modifier Sets to an Item by selecting select box under the Modifier Sets field, then select one or more option from the dropdown menu.
- Select the Save button at the top or bottom right side of the Edit Item screen.
Concept Information
Related Tasks
How to Add a Subcategory or Group
How to Delete Categories, Subcategories, or Groups
How to Deactivate or Reactivate a Category Subcategory Group or Item
How to Edit a Category Subcategory or Group
How to Move Categories, Subcategories or Groups
How to Edit Items for a Location
How to Automatically Create Item Screens From the Item Library
How to Manually Arrange Item Screens and Items
How to Move an Item or Multiple Items